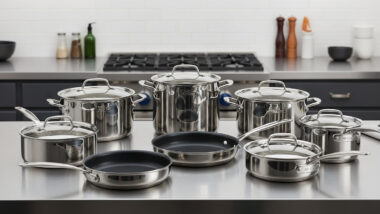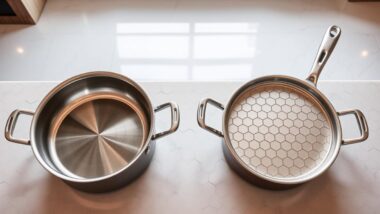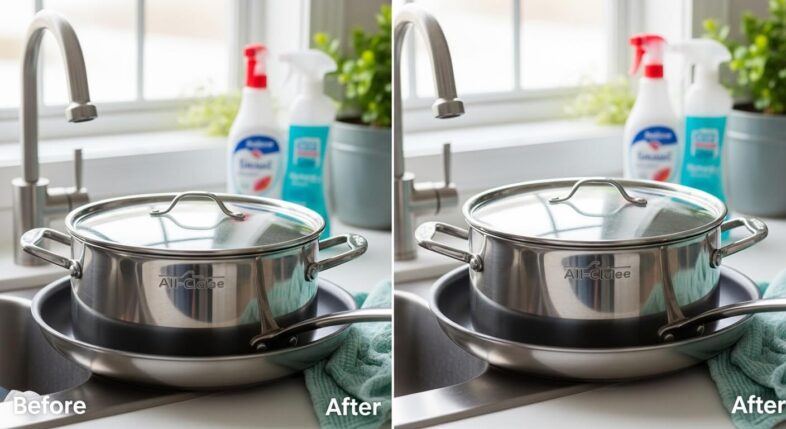
The fastest way to clean All-Clad pots and pans is warm water, mild dish soap, and a non-abrasive sponge for everyday messes, then a dedicated stainless steel cleaner like Bar Keeper’s Friend for the stubborn stuff. That’s it. That’s the whole secret, more or less.
But — and this is where most people mess it up — how you do those two things, and when, depends on which All-Clad line you actually own. D3 isn’t D5. HA1 isn’t stainless at all. Copper Core has a literal copper band on it that does not care about your stainless steel cleaner. So stick around, because the details matter here more than you’d think.
Why Cleaning Method Actually Matters for All-Clad
Here’s the thing nobody tells you when you drop a few hundred bucks (sometimes way more) on a cookware set: the cleaning routine is half the investment. Seriously. You can buy the nicest tri-ply stainless on the planet and wreck it in six months with the wrong sponge.
All-Clad backs its cookware with a limited lifetime warranty, but that warranty has teeth — misuse and improper care can void it. Nobody wants to find that out the hard way, mid-argument with customer service, holding a scratched-to-hell sauté pan.
How Cleaning Needs Differ Across the All-Clad Lineup
Not all All-Clad is built the same, and that changes how you treat it.
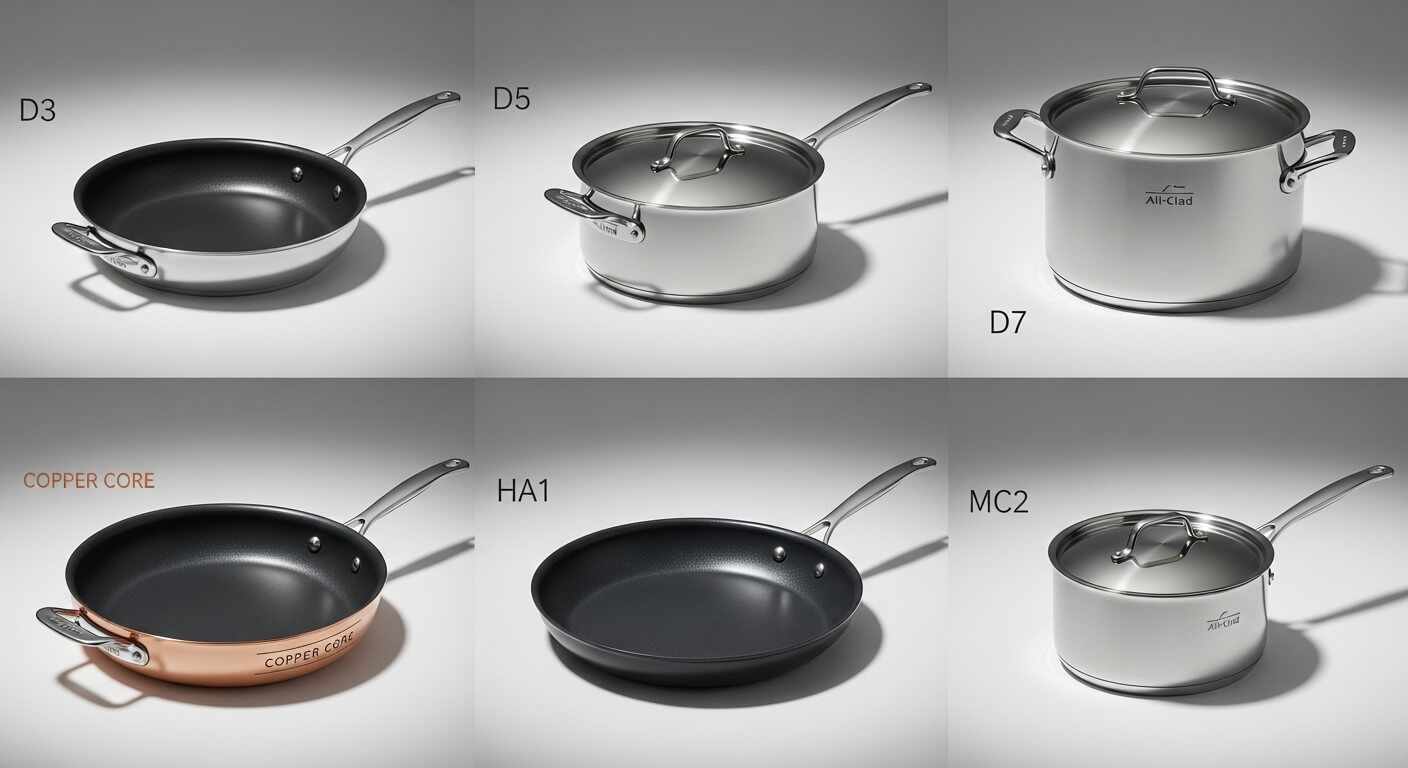
- HA1 — single layer of hard-anodized aluminum. Lighter than the others, sure, but don’t let that fool you into thinking it’s tougher. The anodized surface scratches easier than bonded stainless.
- D3 — classic 3-ply stainless. Lighter than D5 or D7, straightforward to maintain, the “starter” tier of All-Clad care.
- D5 and D7 — more layers bonded together, heavier in your hand, but the actual cooking surface care is identical to D3. Same rules apply.
- Copper Core — stainless surface plus an exposed copper band running around the outside. Gorgeous. Also a magnet for tarnish if you ignore it.
If you want the full rundown on what separates these lines beyond cleaning, check out our All-Clad D3 vs D5 vs D7 vs Copper Core vs HA1 vs MC2 comparison chart — it breaks down weight, conductivity, and price across the whole family.
How to Clean All-Clad Stainless Steel Cookware (D3, D5, D7, Copper Core, HA1)
Cleaning stainless All-Clad comes down to two modes: daily upkeep and deep cleaning. Most of your life will be spent in mode one.
What You’ll Actually Need
Skip the fancy kits. Here’s what does the job:
- Mild dish soap (nothing with bleach mixed in)
- A non-abrasive sponge or soft cloth
- A stainless steel cleaner — Bar Keeper’s Friend is the famous one, but Weiman and Cerama Bryte work too
- A microfiber towel for drying
That’s the whole shopping list. Four things.
Daily Cleaning, Step by Step
- Let the pan cool. Completely. Cold water hitting a screaming-hot pan can warp the base — and a warped pan never sits flat on a burner again.
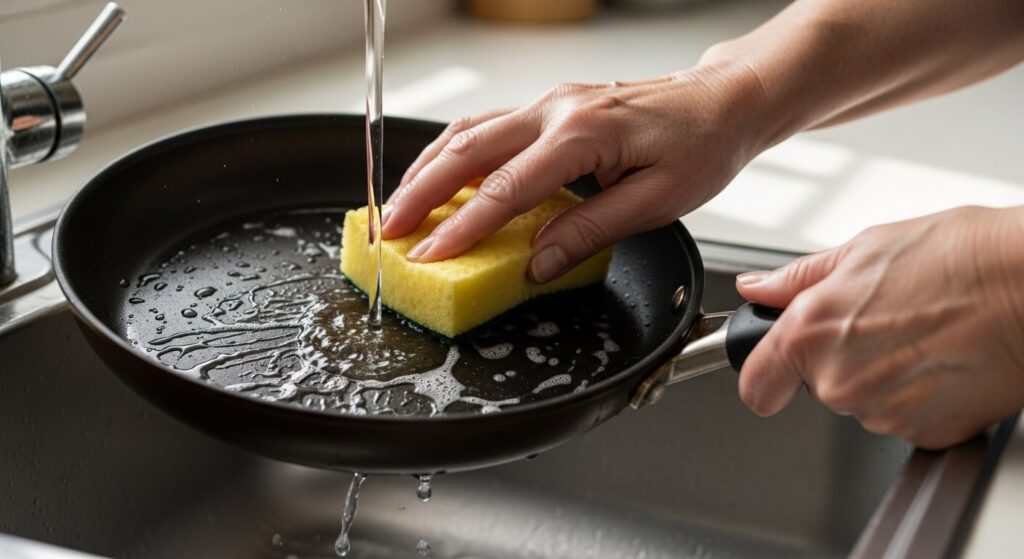
- Rinse with warm water to loosen anything stuck on the surface.
- Wash with mild soap and your non-abrasive sponge.
- Rinse it well. Soap residue left behind can cause cloudy spots once it dries.
- Dry it immediately. Don’t let it air dry — water spots and mineral deposits love an air-dried pan.
Five steps. None of them hard. Most people just skip step five and wonder why their pan looks dull six months in.
Deep Cleaning Stuck-On Food and Discoloration
So what happens when daily cleaning isn’t cutting it? When there’s a crust on the bottom that laughs at soap and water?
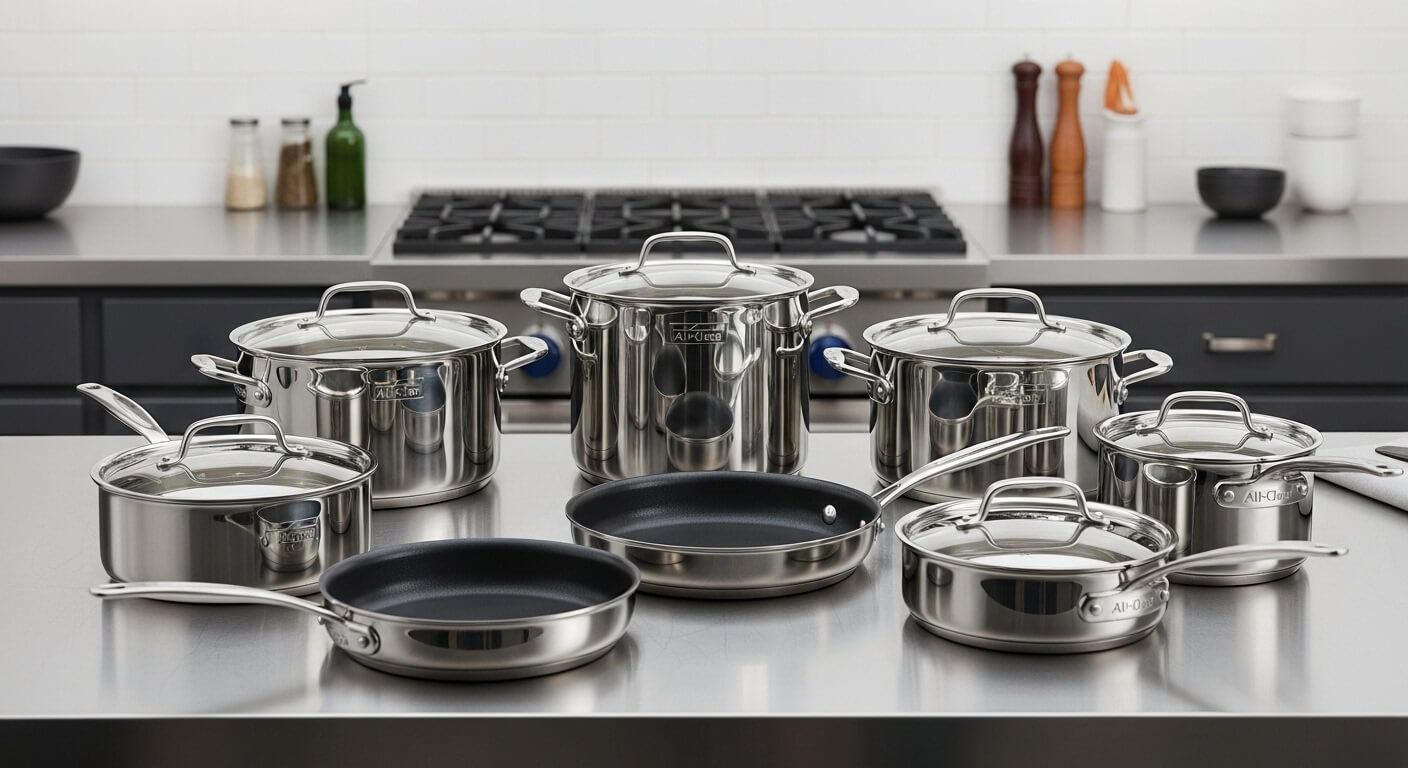
Time for the heavy artillery.
- Let the pan cool, then add warm water directly into it.
- Sprinkle in your stainless cleaner — and here’s an important correction to something you might’ve read elsewhere: these cleaners are not “all natural” in any meaningful sense. Bar Keeper’s Friend’s main active ingredient is oxalic acid, a mild abrasive and acid. It works because of that, not despite it. Use it sparingly, not as your daily soap substitute.
- Scrub gently, going with the grain of the brushed steel, not against it.
- Rinse thoroughly. Don’t let the cleaner sit on the metal longer than it needs to.
- Dry completely.
Quick gut check: if you’re reaching for stainless cleaner every single day, something’s off with your cooking technique, not your cleaning routine. This stuff is for occasional rescue missions, not daily maintenance.
Removing Burnt or Heavily Stuck-On Food
We’ve all done it. Walked away from the stove for “just a second” and came back to a crime scene.
The deglazing trick works wonders here — right after cooking, while the pan’s still warm (not scorching), pour in some water and let it simmer for a minute or two. The stuck bits loosen up almost on their own. Scrape gently with a wooden spoon, and most of it just lifts away.
No deglazing happened and the food’s bonded to the metal overnight? A baking soda paste — just baking soda and a splash of water — is a gentler first move than going straight to commercial cleaner. Let it sit for ten minutes, then scrub.
One more thing: don’t go scorched-earth on one stubborn spot for fifteen minutes straight. You’ll wear a thin patch into the finish before you wear out the stain. Treat it, rinse, repeat the next day if needed. Patience beats brute force here, every time.
Removing Discoloration, Rainbow Stains, and Blue Heat Tinting
You sear a steak, look down, and there’s a weird rainbow sheen on the pan. Panic sets in. Don’t panic.
That tinting is usually just heat discoloration — sometimes from overheating, sometimes from minerals in your water, sometimes from oil breaking down at high temps. It looks alarming. It’s almost always cosmetic.
White vinegar on a soft cloth, or your stainless cleaner, will buff it right back to a shine in most cases. And to be clear — this doesn’t mean your pan is damaged or that you ruined it. The metal underneath is fine. You just changed its surface chemistry a little. Annoying, not catastrophic.
How to Clean All-Clad HA1 Hard-Anodized Cookware
HA1 gets cleaned differently than every other line in the lineup, and here’s why that matters.
Why HA1 Care Is Its Own Animal
You’ll sometimes hear that HA1 is the “easiest to clean” because it’s a single metal layer and lighter to lift. That’s true on weight. It’s misleading on care. The anodized surface is more delicate than bonded stainless — it scratches more easily, and once that anodized layer is compromised, there’s no buffing it back like you can with stainless. So “lighter” doesn’t mean “tougher.” Keep that straight.
Hand-Washing HA1 the Right Way
- Mild soap, soft sponge — nothing else. No steel wool. No Bar Keeper’s Friend (the abrasive will chew through anodizing faster than you’d think).
- Don’t let it soak for hours in the sink. Wash it, rinse it, move on.
- Dry immediately — water spotting shows up fast and ugly on this finish.
Honestly, HA1 is the line where the “easy clean” reputation gets oversold the most. Treat it gently and it rewards you. Treat it like stainless and it’ll look tired within a year.
How to Clean the Copper Band on All-Clad Copper Core Cookware
Copper Core cookware needs an extra cleaning step the other lines don’t — that exposed copper ring around each piece.
Daily Copper Upkeep
Wipe the copper band down after each use. Tarnish builds gradually, and a quick wipe now saves you a much bigger polishing job later. This step takes ten seconds. Skip it for a few months and suddenly you’re dealing with a serious tarnish problem.
Restoring Tarnished Copper
When the band goes dull or dark:
| Method | What it involves | Worth it? |
|---|---|---|
| Commercial copper cleaner (Wright’s Copper & Brass Cream is the classic) | Apply, rub gently, rinse, buff dry | Yes — fast and reliable |
| DIY lemon and salt paste | Cut a lemon, dip in salt, scrub the band | Works surprisingly well, smells better too |
| Vinegar and salt paste | Mix into a paste, apply, let sit briefly | Good backup if you’re out of lemons |
You don’t need to deep-polish the copper every week. Honestly, once a month is plenty for most home cooks. Polish too often and you’re just wearing down the copper for no real benefit.
Is All-Clad Dishwasher Safe? Hand-Washing vs. the Dishwasher
All-Clad officially recommends hand-washing, even on pieces technically labeled dishwasher safe — and that distinction matters more than the label suggests.
What All-Clad Actually Recommends
Some pieces carry a dishwasher-safe label. That doesn’t mean the dishwasher is the best choice — it just means it won’t immediately destroy the pan.
Why Hand-Washing Wins Long-Term
- Dishwasher detergents are formulated stronger than dish soap, and that strength dulls polished stainless over time.
- Hard water running through a dishwasher cycle leaves mineral spots that build up piece after piece.
- Pieces knock against plates, bowls, and each other in a loaded dishwasher — and that’s how scratches happen, slowly, one wash at a time.
On one hand, the dishwasher saves you time on a busy weeknight. But on the other hand, you’re trading five minutes now for a duller pan two years from now. Your call. Just go in with eyes open.
Materials and Tools for Cleaning All-Clad Cookware
What to Actually Use
- Non-abrasive sponges (the soft side of a dual-sided sponge, not the scrub side)
- Soft microfiber cloths for drying and buffing
- A real stainless steel cleaner — not a generic all-purpose spray
What to Never, Ever Use
This list matters more than the last one, honestly.
- Steel wool — leaves microscopic metal fragments behind that scratch the surface every time you use it again. The damage compounds.
- Steel scouring pads — same problem, different shape.
- Chlorine bleach or harsh detergents — corrosive to stainless. Leave bleach sitting on the metal too long and you’ll get pitting, sometimes within minutes.
- Oven cleaners — these are acidic or alkaline chemical cocktails meant for baked-on grime in an oven, not your cookware. They’ll corrode and discolor the metal fast.
- Cold water on a hot pan — not a product, but still on the no-go list. Thermal shock warps the base.
Stay away from these and you’ll never deal with pitting or rust. Period.
How to Prevent Stains and Buildup Before They Start
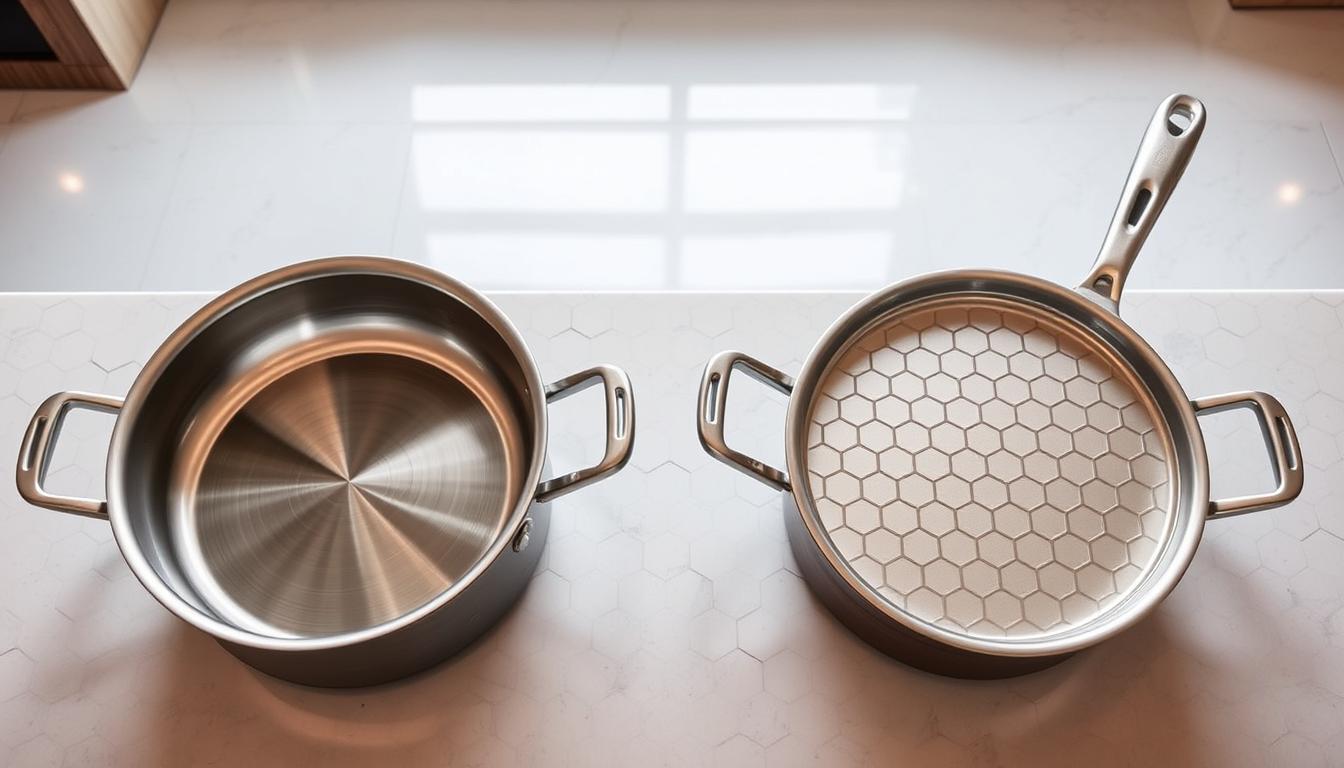
The best cleaning trick is the one where you don’t have much to clean in the first place.
Cooking Habits That Cut Down on Cleanup
Preheat properly. The classic water-bead test — drop a little water in the dry pan and wait for it to dance around in beads rather than evaporate instantly — tells you when the pan’s actually ready. Cook on a pan that’s not hot enough yet, and food bonds to the surface instead of releasing cleanly.
Use enough oil or fat. Not a ton — just enough to keep food from baking directly onto bare metal.
And don’t leave an empty pan on high heat for long stretches. That’s basically how you create the discoloration we talked about earlier.
Clean It Now, Not Later
Letting a pan sit with dried-on food for a day (or three) turns a thirty-second wipe into a fifteen-minute scrub session. Let the pan cool safely first, sure. But don’t let “I’ll get to it later” become “I’ll get to it next week.”
How to Store All-Clad Cookware to Keep It Clean
Preventing Scratches in the Cabinet
Stacking pans directly on top of each other is sneaky good at ruining a polished cooking surface. Use felt pan protectors between pieces, or hang them if you’ve got the space. The scratches that happen in storage are completely avoidable, and that’s the most frustrating kind of damage — self-inflicted, no cooking involved at all.
Keeping the Shine Between Uses
If a piece sits unused for a few weeks, give it a quick wipe before storing it again and another quick wipe before its next use. Dust and kitchen grease settle even on cookware that’s just sitting there.
Restoring an Older or Neglected All-Clad Cookware Set
Bringing a Dull or Stained Set Back to Life
Got a set that’s been through some things? Here’s the move: soak first in warm water to loosen general grime, then apply stainless cleaner across the whole cooking surface (not just the obvious stains), scrub gently with the grain, rinse, and finish with a dry buff using a clean microfiber cloth. Takes a bit longer than your normal wash, but a genuinely neglected set can look shockingly close to new after one good session like this.
Knowing What’s Fixable and What Isn’t
Discoloration, tarnish, rainbow tinting — all fixable with the methods above. Easy fixes, every one of them.
Warping and pitting are a different story entirely. Once a base is warped, cleaning won’t flatten it back out — that requires the metal itself to be reshaped, which isn’t a DIY job. Pitting (those small pockmark-like craters, usually from bleach or chlorine exposure) is permanent corrosion damage to the metal surface itself. No amount of scrubbing brings that back.
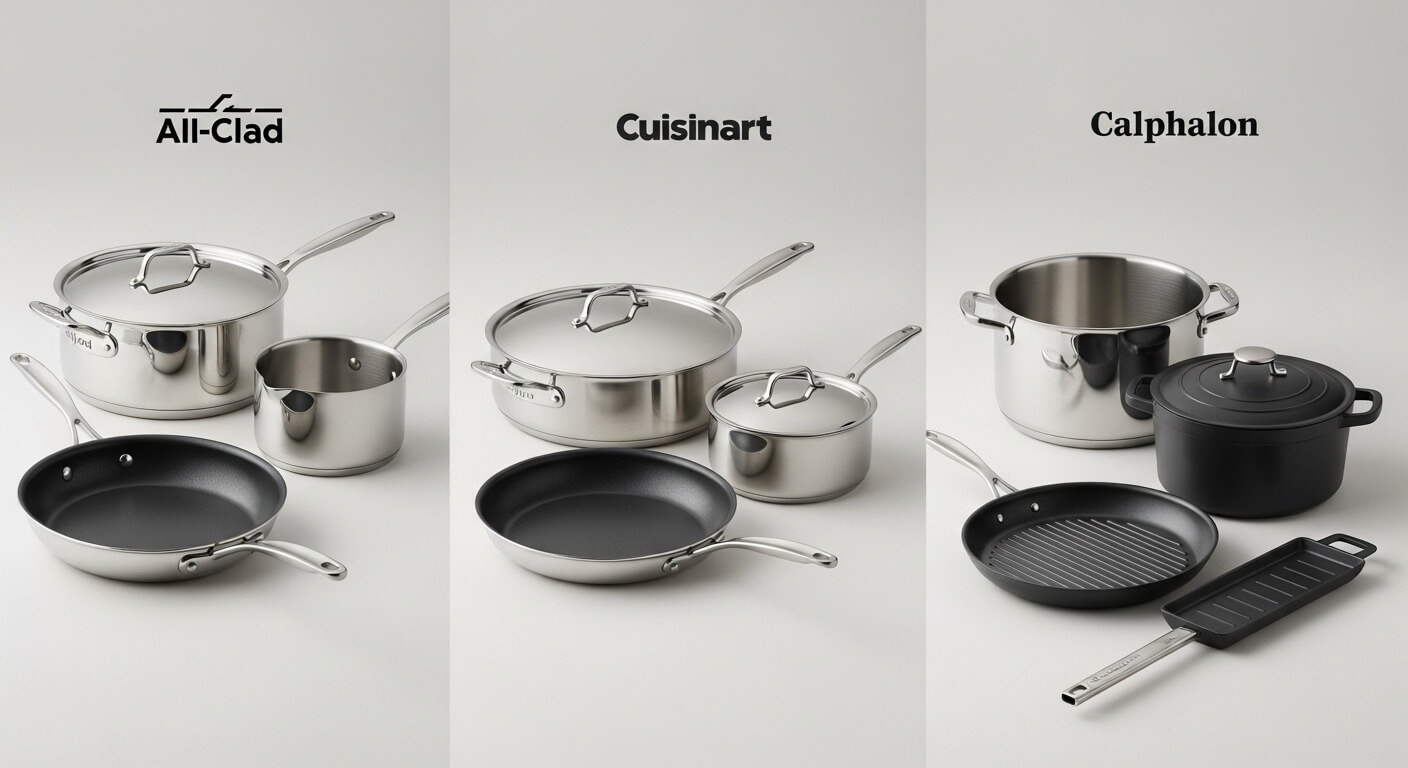
If you’re dealing with either of those on a relatively new set, it’s worth contacting All-Clad directly about warranty coverage before writing the piece off. If it’s an older set well outside warranty, you’re looking at living with the cosmetic wear or replacing the piece — cleaning alone just isn’t going to solve a structural problem.