Table of Contents
- 1 Can You Save a Rusty Cast Iron Skillet?
- 2 What You’ll Need to Restore Your Rusty Cast Iron Skillet
- 3 Step 1: Assess the Rust Damage on Your Cast Iron Skillet
- 4 Step 2: Remove Rust from Your Cast Iron Skillet Using the Scrubbing Method
- 5 Step 3: Use a Vinegar Soak for Heavily Rusted Cast Iron Skillets
- 6 Step 4: Thoroughly Dry Your Cast Iron Skillet
- 7 Step 5: Season Your Restored Cast Iron Skillet
- 8 Step 6: Test Your Restored Cast Iron Skillet
- 9 Preventing Rust from Returning to Your Cast Iron Skillet
- 10 Alternative Methods for Restoring Rusty Cast Iron Skillets
- 11 Troubleshooting Common Issues When Restoring Cast Iron
- 12 Tools and Products to Avoid When Restoring Cast Iron
- 13 How to Tell If Your Cast Iron Skillet Is Vintage or Modern
- 14 Cost Breakdown: DIY Restoration vs. Professional Services
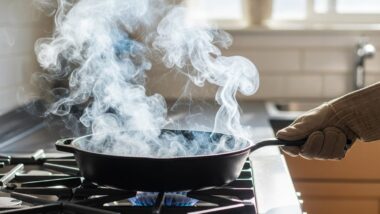
Can You Save a Rusty Cast Iron Skillet?
Yes — almost every rusty cast iron skillet can be fully restored, even ones that look completely shot. Rust isn’t the death sentence people think it is. It’s just surface-level oxidation that happens when moisture eats through the seasoning layer and gets to the bare iron underneath. Strip it off, dry the pan properly, season it a few times, and you’ve got a skillet that works exactly like it did on day one.
Here’s the thing: cast iron is basically indestructible. We’re talking decades of use, sometimes generations. A modern non-stick pan? Maybe five years before it’s garbage. Cast iron, treated right, outlives the person who bought it.
Most restorations take 1 to 3 hours, depending on how bad the rust is. Light spotting goes fast. Heavy, years-deep rust takes longer because you’re soaking and scrubbing instead of just wiping.
What actually causes the rust in the first place? Usually one of these:
- Storing the pan while it’s still damp (the number one culprit, honestly)
- Tossing it in the dishwasher — don’t do this, ever
- Leaving it sitting in moisture for too long
- The seasoning layer wearing off or getting stripped
- Acidic food (tomato sauce, vinegar-based stuff) sitting in the pan overnight
Once you know what caused it, you can avoid round two.
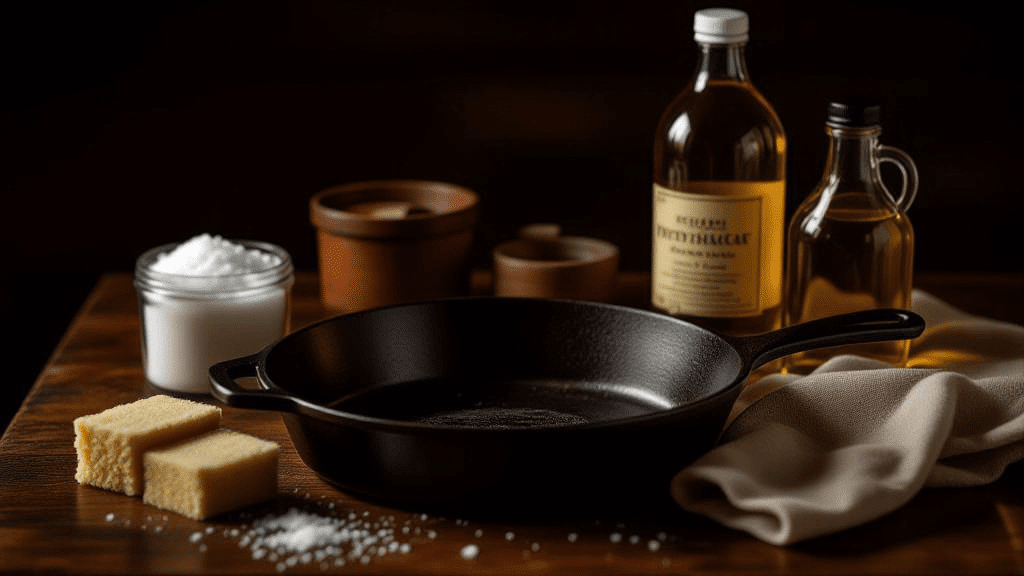
What You’ll Need to Restore Your Rusty Cast Iron Skillet
You need five basic items and maybe a couple of optional tools, and most of it’s probably already in your kitchen. No special trip to a hardware store required, unless your rust situation is genuinely ugly.
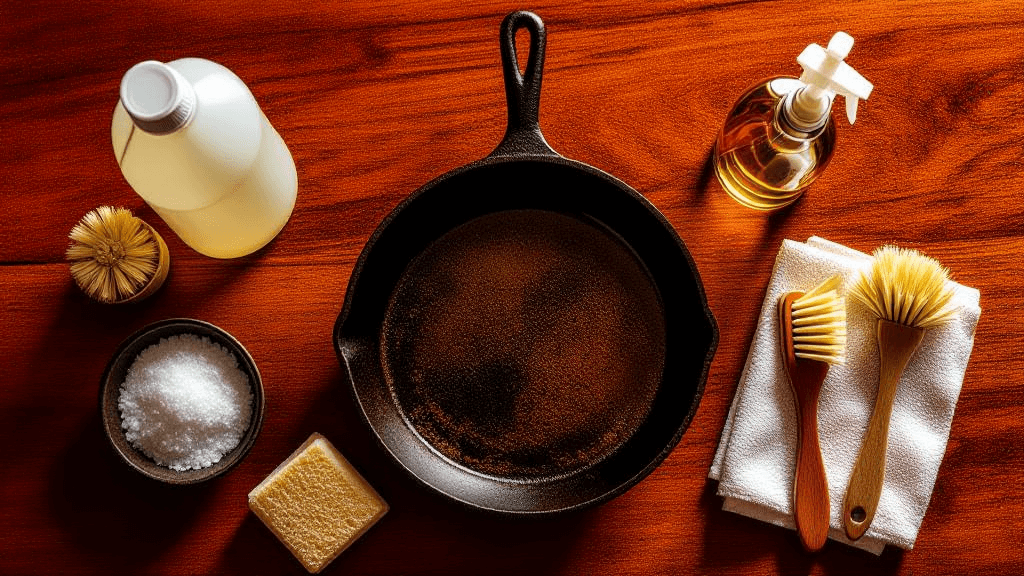
Essential Materials
| Item | Purpose |
|---|---|
| Steel wool (coarse grade) | Scrubs rust off through abrasion |
| White vinegar | Breaks down heavy, stubborn rust |
| Dish soap | Helps lift grime while you scrub |
| Paper towels | Gets the pan bone dry |
| Cooking oil (vegetable, canola, or flaxseed) | Builds the new seasoning layer |
Optional Tools
Not required, but they make life easier — especially on rougher jobs:
- Electric drill with a wire brush attachment — speeds things up massively on severe rust
- Coarse salt — a gentler, natural abrasive for light scrubbing
- A chain mail scrubber, which sits nicely between “too harsh” and “not enough”
- Aluminum foil, balled up — soft enough to skip scratching, tough enough to knock rust loose
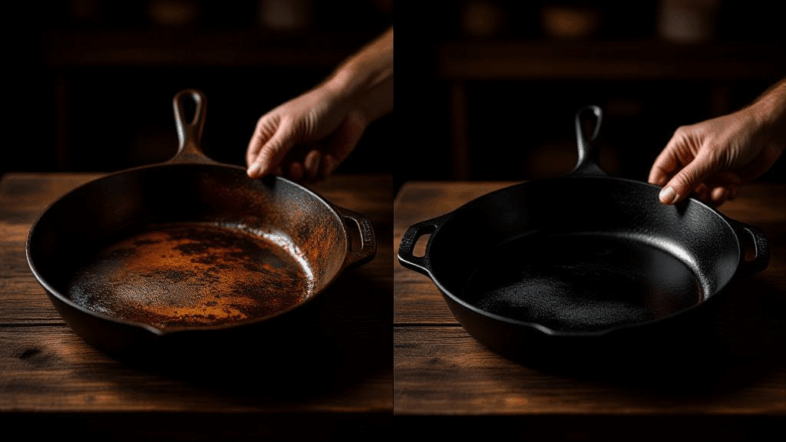
Step 1: Assess the Rust Damage on Your Cast Iron Skillet
Look at the pan first, because the severity of the rust determines which method you’ll actually use. Don’t just dive in with steel wool and hope for the best.
Light Surface Rust
This is the easy case. Orange or brown spots scattered across an otherwise solid black surface — most of the seasoning is still intact. You’re looking at 30 to 60 minutes of work here. Simple scrubbing handles it.
Heavy Rust Coverage
Now we’re talking deep orange or red, covering most of the pan, with little to no black seasoning visible anywhere. Sometimes the surface even feels different — pitted, rough. This one needs the vinegar soak, and you should plan for 2 to 3 hours total.
Beyond Repair Indicators
Rare, but worth knowing. Skip restoration and replace the pan if you see:
- Actual cracks running through the iron itself (not just cracks in the seasoning — that’s normal)
- Warping so bad the pan wobbles on a flat surface
- Deep structural pitting that’s compromised the strength of the metal
Honestly? Most rust doesn’t fall into this category. If your pan isn’t cracked or warped, it’s salvageable.
Step 2: Remove Rust from Your Cast Iron Skillet Using the Scrubbing Method
Start with mechanical removal — soap, steel wool, elbow grease — for anything light to moderate. This is your first line of attack before you reach for vinegar.
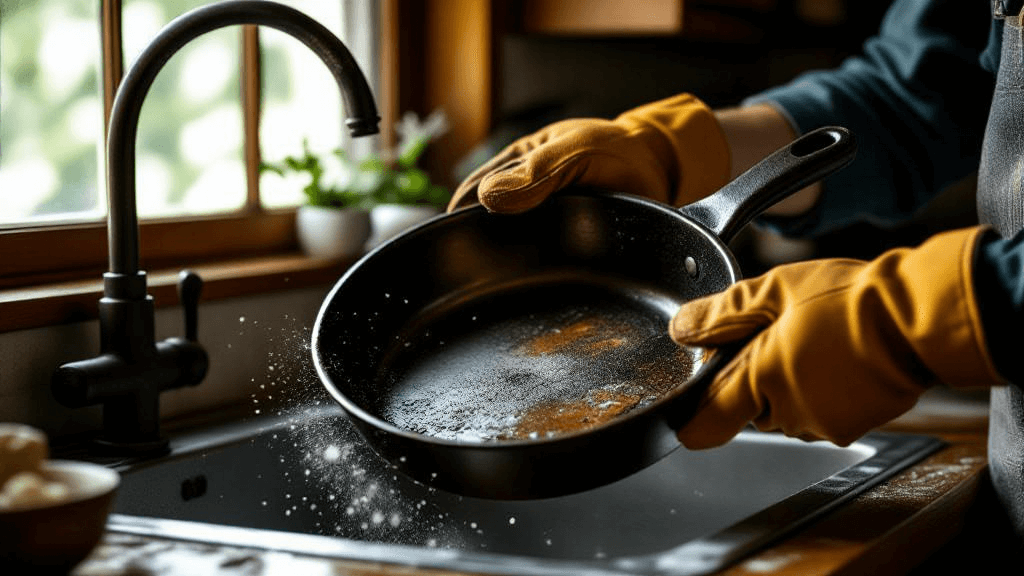
Basic Scrubbing Technique
Squirt some dish soap directly onto the rusted spots. Scrub with steel wool, firm circular motions. And before you ask — no, soap does not ruin cast iron. That myth’s been floating around forever, and it’s wrong. Modern dish soap is fine.
The process:
- Wet the whole skillet
- Apply soap to the steel wool (or straight to the pan)
- Scrub the rusty areas with decent pressure
- Rinse it off and check your progress
- Repeat until the rust is gone
Work the entire cooking surface, not just the obvious rust patches. You want an even base before you season — patchy scrubbing leads to patchy seasoning.
Salt Scrub Alternative
Dump 2-3 tablespoons of coarse salt into the skillet. Add a tablespoon of cooking oil to make a paste. Scrub it in with a folded paper towel.
This option’s nice if you want to keep whatever seasoning is still hanging on in the less-damaged spots. Salt is gentle, no chemicals involved.
Aluminum Foil Method
Ball up a sheet of foil — fist-sized works well. Dip it in water or oil, then scrub the rusted area.
Foil’s softer than the cast iron, so scratching isn’t a concern. It handles moderate rust well and it’s gentler than steel wool if you’re worried about being too aggressive.
Step 3: Use a Vinegar Soak for Heavily Rusted Cast Iron Skillets
Reach for vinegar when scrubbing alone can’t cut through the rust — it dissolves it chemically instead of just abrading it off.
When Vinegar Becomes Necessary
If rust covers over 50% of the pan, or if it’s thick and just laughs at your scrubbing efforts, it’s time. Years of buildup, multiple rust layers — that’s a vinegar job, not a steel wool job.
Vinegar Soaking Process
Mix equal parts white vinegar and water in something big enough to fully submerge the skillet. A plastic bin or a large bucket both work fine.
Timing matters here, a lot:
- Check on it every 15 minutes
- Pull it out the moment the rust starts loosening
- Never let it soak longer than 2 hours, period
- Vinegar will eat into bare iron if you leave it too long
Submerge the whole thing, or flip it halfway through if your skillet’s too big to fit. Most pans start bubbling and loosening within 30 minutes.
Post-Soak Treatment
The second rust starts flaking off, pull the pan out. Scrub immediately with steel wool to knock loose what’s left. Rinse well under running water.
One warning, and it’s important: bare iron rusts again within minutes after a vinegar soak. So move fast. Don’t set it down and grab a snack — go straight to drying.
Step 4: Thoroughly Dry Your Cast Iron Skillet
Dry the pan completely before you do anything else, because any leftover moisture undoes your rust removal almost instantly.
Drying Importance
Water on bare iron causes fast oxidation — we’re talking hours, not days, before new rust shows up. And drying isn’t just about preventing rust. It also matters for the seasoning step, since oil won’t bond properly to a damp surface.
Heat Drying Method
Towel dry everything first to get rid of standing water. Then set the skillet on a stovetop burner, medium heat. Watch it shift from dark, wet-looking gray to a lighter, drier shade as the moisture cooks off.
Give it 5 to 10 minutes, until:
- No water spots are visible anywhere
- The surface looks uniformly dull gray
- The pan feels warm all over, not just in spots
An oven works too — 200°F for about 10 minutes does the same job.
Verification
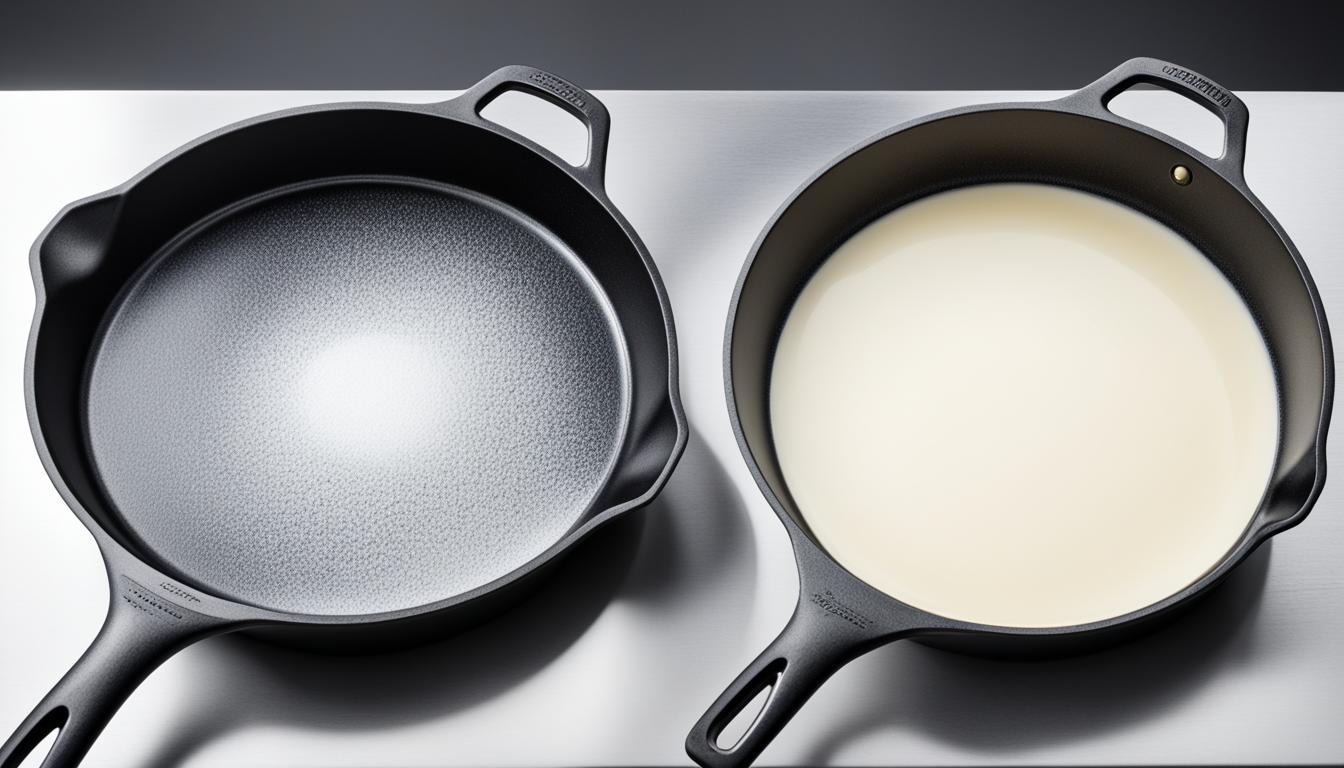
Run your hand across the surface once it’s cooled a bit. It should feel completely dry, no dampness whatsoever. At this stage, all the black seasoning should be gone — you’re looking at plain, bare gray iron.
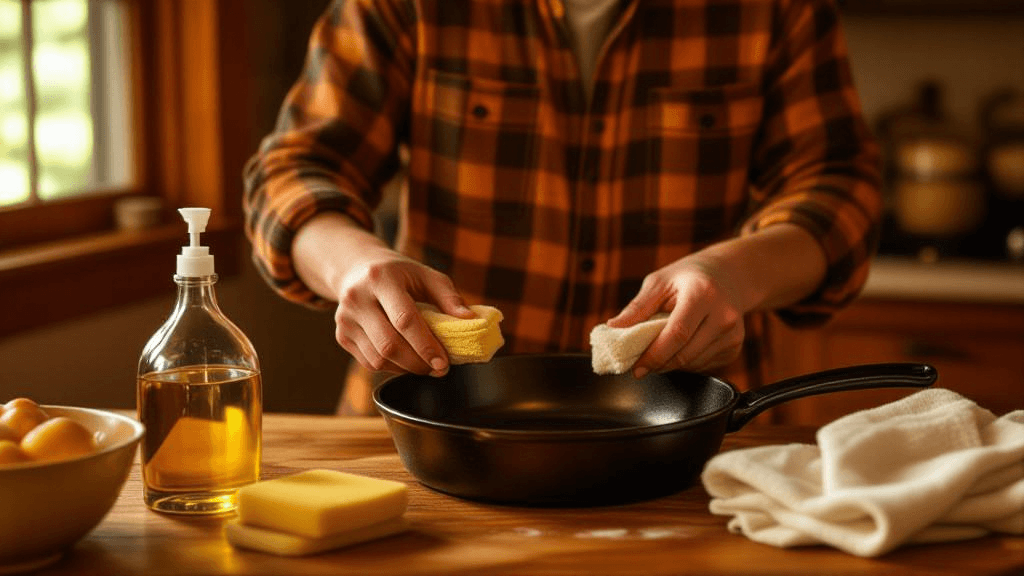
Step 5: Season Your Restored Cast Iron Skillet
Build a protective layer on the bare iron now by baking oil into the surface — this is what actually stops the rust from coming back and gives you that non-stick performance everyone loves about cast iron.
Why Seasoning Matters
Heat bonds oil molecules to the iron, forming a hard polymer coating. That coating seals out moisture and air. Stack enough thin layers and you get the deep black patina people associate with a well-loved skillet.
Skip seasoning, and your pan rusts again within days. No exceptions.
Oil Selection
Not all oils are equal here. You want something with a high smoke point:
| Oil Type | Smoke Point | Recommendation |
|---|---|---|
| Flaxseed | 225°F | Hardest finish, but finicky |
| Grapeseed | 420°F | Solid all-purpose pick |
| Canola | 400°F | Cheap and it works |
| Vegetable | 400-450°F | Easy to find, gets the job done |
| Olive oil | 375°F | Skip it — smoke point’s too low |
Stick with oils above 400°F for the best polymerization.
Oven Seasoning Method
Crank your oven to 450-500°F. Rub a thin layer of oil onto every surface — inside, outside, handle, bottom, all of it. Then wipe off the excess with a paper towel until the pan looks dry, not shiny or greasy.
The steps:
- Apply oil sparingly, everywhere
- Wipe it down thoroughly — less is more
- Flip the pan upside down in the hot oven
- Slide foil onto the rack below to catch drips
- Bake for 60 minutes
- Turn off the oven and let it cool completely inside, don’t rush it
Expect some smoke in the first 15 minutes. That’s normal — it’s just the oil polymerizing.
Building Protection
One coat alone won’t do much. Go for 3-4 coats minimum if you want real rust resistance and decent cooking performance. Each layer bonds to the one before it, so the finish gets tougher with every round.
Let the pan cool fully between coats. Rushing this step weakens everything you just built.
Stovetop Quick Method
Apply a thin coat of oil to just the cooking surface. Heat it over medium flame until it smokes. Kill the heat, let it sit for 10 minutes, wipe off the excess, and repeat 2-3 times.
Faster, sure. But it’s not as durable as the oven method. Use this one for touch-ups, not your initial restoration.
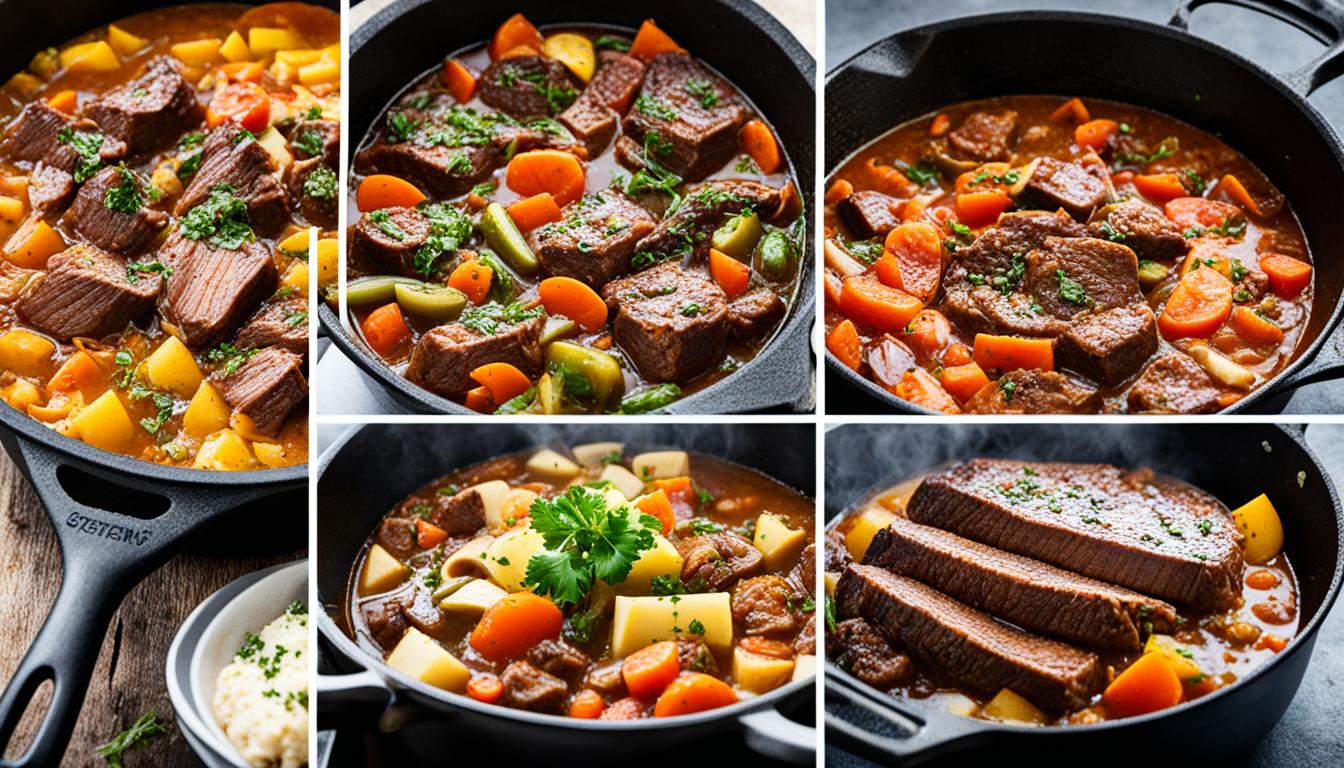
Step 6: Test Your Restored Cast Iron Skillet
Cook something fatty right away — this confirms the restoration worked and keeps building the seasoning while you’re at it.
Initial Cook
Bacon. Eggs in butter. Either works great for a first run. The fat helps fill in any microscopic gaps left in the seasoning.
Avoid acidic stuff for now — tomatoes, vinegar-based sauces, that kind of thing. Acid can strip new seasoning before it’s had a chance to fully harden.
Success Indicators
You’ll know it worked if you see:
- A smooth, darkening surface — it shifts from gray-brown toward black over the first handful of cooks
- No new rust popping up, even after washing and drying
- Less sticking — food should release with a little gentle coaxing
A bit of sticking at this stage is totally normal. It gets better fast as you keep using the pan.
Preventing Rust from Returning to Your Cast Iron Skillet
Keep your skillet rust-free for good by drying it completely and oiling it after every single use — skip this and you’ll be back to scrubbing rust within weeks.
Daily Care Routine
Clean it while it’s still warm. Food comes off easier that way. Hot water and a stiff brush handle most of it.
After every use:
- Scrub with hot water and a brush
- Towel dry immediately
- Set it on the stovetop for 2 minutes to evaporate any leftover moisture
- Rub on a thin layer of oil while it’s still warm
- Wipe off the excess
That oil coating is doing the heavy lifting between cooking sessions.
Storage Guidelines
Most rust problems trace back to moisture trapped during storage. Store the skillet somewhere dry — a cabinet, or hanging on a wall. And never, ever put the lid on right after cleaning. Trapped condensation rusts the pan overnight, guaranteed.
Slide paper towels between stacked pans. They soak up stray moisture and keep the seasoning from getting scuffed by contact.
Quick storage rules:
- Bone dry before it goes anywhere
- No lids trapping moisture
- Low-humidity spot if you’ve got one
- Paper towels between stacked cookware
Long-Term Maintenance
Re-season in the oven every 6-12 months, rust or no rust. It’s preventative — refreshes the layer before problems even start. And if a tiny rust spot does show up, deal with it immediately. Quick scrub, quick re-season, done.
Cook with oil and fat regularly. Frequent use actually maintains seasoning better than letting the pan sit around. The heat and fat from normal cooking just keeps reinforcing what’s already there.
Alternative Methods for Restoring Rusty Cast Iron Skillets
Reach for these advanced techniques when standard scrubbing and vinegar soaking aren’t enough, or when you’re dealing with a pan that needs special handling.
Electrolysis Tank
This one pulls rust off using electric current — no scrubbing needed at all. You’ll need a battery charger, washing soda, water, and a sacrificial piece of metal to act as the anode.
Takes 4 to 24 hours depending on how bad the rust is. Collectors lean on this method for valuable vintage pans where preserving the original surface actually matters.
What you’ll need to set it up:
- A 5-gallon plastic container
- A 12V battery charger
- Washing soda (sodium carbonate)
- A sacrificial steel anode
- Distilled water
Heads up: this strips everything — rust, seasoning, old buildup, all of it. You’ll end up with completely bare iron.
Self-Cleaning Oven Method
The self-clean cycle hits roughly 900°F, which incinerates rust and seasoning alike. What comes out is bare metal, and it needs immediate treatment afterward.
Some experts aren’t fans of this one. That much heat can warp or crack cast iron, especially older or thinner pieces. Thick, modern skillets generally handle it better, but proceed carefully either way.
Professional Sandblasting
Media blasting strips a pan down to bare metal fast. It does change the surface texture slightly — smooths it out compared to the original cast finish.
Costs run $30 to $100, depending on the size of the pan. Worth considering for valuable antiques or if you’ve got a stack of pans to restore at once. Just know the texture won’t be quite identical to the original vintage finish afterward.
Troubleshooting Common Issues When Restoring Cast Iron
Fix the four most common restoration problems with these targeted solutions before assuming your pan is ruined.
Rust Reappears After Restoration
Cause: Not enough drying time before seasoning, or too few seasoning coats.
Solution: Strip it down and start over. This time, go with 4-5 seasoning coats instead of 2-3. Dry for a full 10+ minutes before any oil touches the pan. Pay closer attention to moisture during storage too.
Sticky or Tacky Residue
Cause: Too much oil during seasoning — it never fully polymerized.
Solution: Bake the pan at 450°F for an hour. The tackiness burns off. Next time, use a thinner coat — the pan should look almost dry after wiping, not glossy.
Blotchy or Uneven Appearance
Cause: Oil applied unevenly, or hot spots in your oven.
Solution: Don’t worry about it. Keep cooking with the pan normally and the appearance evens out over 10-20 sessions as new layers fill the gaps. Purely cosmetic — doesn’t touch performance at all.
Visible Pitting After Rust Removal
Cause: Rust ate into the iron before you started restoring it.
Solution: Pitting’s permanent, but it doesn’t stop you from using the pan. Multiple seasoning coats fill in the small pits over time, and the polymerized oil smooths things out for cooking. If the pits are deep enough to threaten the pan’s structure, though, that’s a replacement situation.
Tools and Products to Avoid When Restoring Cast Iron
Skip harsh chemicals, abrasive power tools on thin pans, and anything marketed as a cast-iron-specific “miracle cleaner” — most of these either damage the metal or do nothing steel wool and vinegar can’t already do.
Here’s a quick rundown of what to leave on the shelf:
- Oven cleaner sprays — way too harsh, can pit the iron and leave residue that’s a pain to fully rinse out
- Bleach or harsh disinfectants — completely unnecessary, and some can react badly with iron
- Wire wheel attachments on thin or antique pans — fine for thick modern skillets, risky on delicate vintage pieces
- Non-stick cleaning pads marketed for “delicate” surfaces — too soft, won’t touch real rust
- Cooking spray for seasoning — contains additives that don’t polymerize the same way pure oil does
Basically, if a product promises to make restoration “effortless,” read the label twice. Cast iron doesn’t need anything fancy. Soap, vinegar, salt, oil — that’s the whole toolkit, really.
How to Tell If Your Cast Iron Skillet Is Vintage or Modern
Check the underside of the pan first — vintage cast iron is noticeably lighter, smoother on the cooking surface, and often stamped with a foundry name or pattern number, while modern pans tend to feel heavier and rougher to the touch.
A few things to look for:
| Feature | Vintage | Modern |
|---|---|---|
| Weight | Lighter for the same size | Noticeably heavier |
| Cooking surface | Smooth, almost glassy | Slightly rough or pebbled |
| Markings | Foundry name, heat ring, pattern number | Brand logo, sometimes “Made in” stamp |
| Handle | Thinner, often with a small hole | Thicker, sometimes no hole |
| Price if collectible | Can be $50-300+ for rare pieces | Usually $20-60 new |
Older pans — especially from foundries like Griswold or Wagner — were machined smooth after casting, which is why they feel almost polished compared to a modern Lodge skillet straight off the shelf.
Does this actually matter for restoration? Sort of. Vintage pieces with collector value are worth handling more carefully — electrolysis instead of aggressive scrubbing, for instance — since you’re trying to preserve the original surface rather than just get it cooking again.
Cost Breakdown: DIY Restoration vs. Professional Services
DIY restoration runs $5 to $20 in supplies you probably already own, while professional sandblasting or electrolysis services cost $30 to $150 depending on the pan’s size and condition.
Here’s how the numbers actually shake out:
| Method | Typical Cost | Time Required |
|---|---|---|
| DIY scrubbing + seasoning | $5-15 (soap, oil, steel wool) | 1-3 hours |
| DIY vinegar soak | $10-20 (vinegar, oil) | 2-4 hours |
| DIY electrolysis | $20-40 (charger, washing soda, container) | 4-24 hours |
| Professional sandblasting | $30-100 | Same day, usually |
| Professional electrolysis service | $50-150 | 1-3 days |
For a single skillet, DIY almost always wins on cost. Where professional services start making sense is volume — if you’ve got a stack of five rusty pans from an estate sale, paying someone $100 to sandblast all of them might beat spending your whole weekend scrubbing. Worth it for valuable vintage finds too, where a botched DIY attempt could actually hurt resale value.