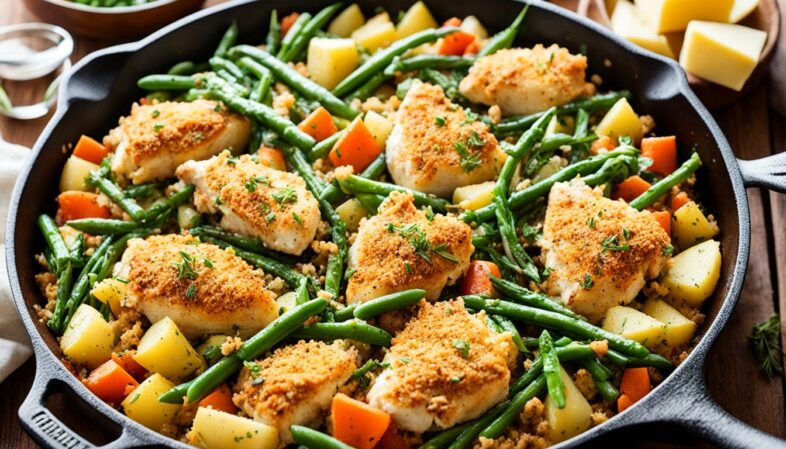
Cast iron skillet chicken casseroles are the answer when you want a real dinner — not a sheet pan situation, not a slow cooker dump, something that actually tastes like it was made with intention. These nine recipes serve four people each. Some take 25 minutes. The Italian pasta one takes closer to 45. Some take 25 minutes. The Italian pasta one runs closer to 45 — and that gap is roughly the spread you’ll see across this whole list.
Here’s the actual advantage cast iron brings to this dish: it holds heat evenly enough that chicken genuinely browns instead of just steaming in its own juices, and going from stovetop to oven happens without any real friction at all. One pan from start to table. That’s the pitch and it’s a good one.
Why People Love Cast Iron Skillet Cooking
Cast iron cooking is better for chicken casseroles than most people realize — and the reason is almost embarrassingly simple.
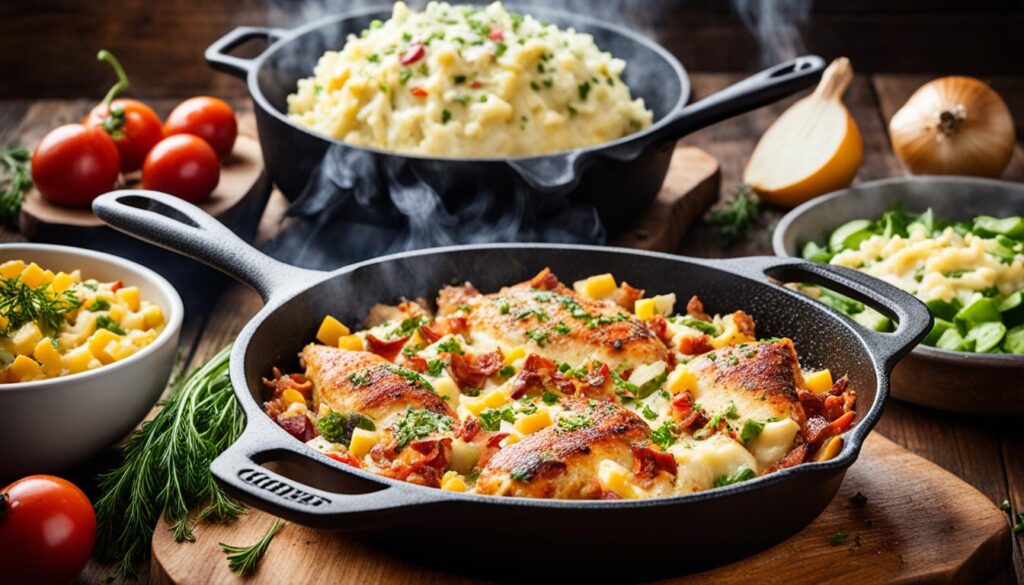
Temperature stability. Temperature stability, really, is the whole story. Drop cold chicken into a stainless pan and the surface temperature crashes right away, which means the chicken ends up stewing in its own liquid instead of actually searing. Cast iron just doesn’t lose heat that fast. The chicken hits a surface that’s genuinely hot, the Maillard reaction kicks in, browning happens — and that browning is responsible for most of the flavor you’d find in any casserole.
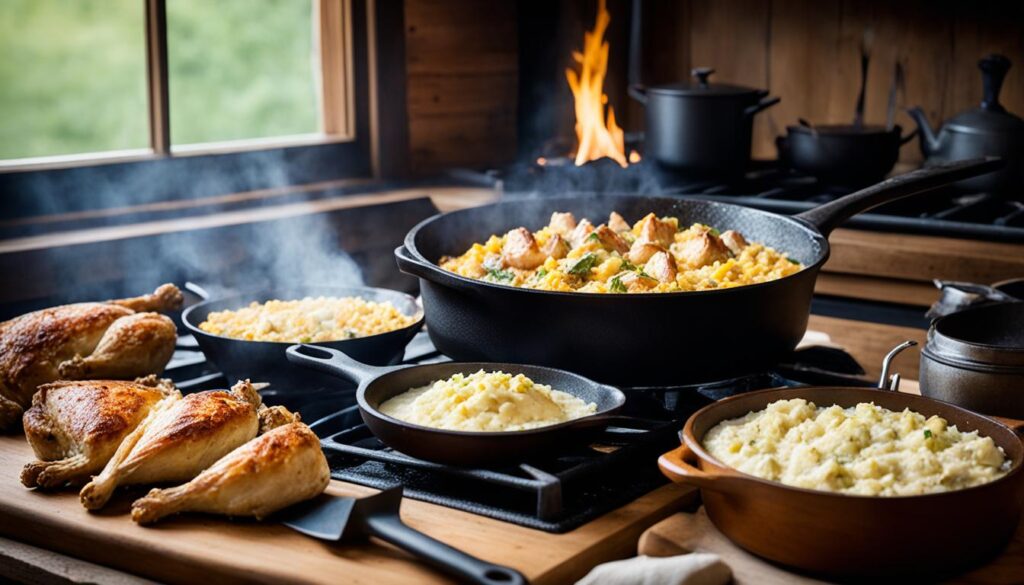
Going from stovetop to oven is just as effortless here. Sear everything on the burner. Build your sauce. Slide the whole thing into the oven to finish. Same pan throughout. No transferring, no losing the fond from the searing step, no extra dishes. And on the table, cast iron keeps food hot longer than any other material — which matters more than people acknowledge when you’re serving a family and the last plate goes out three minutes after the first.
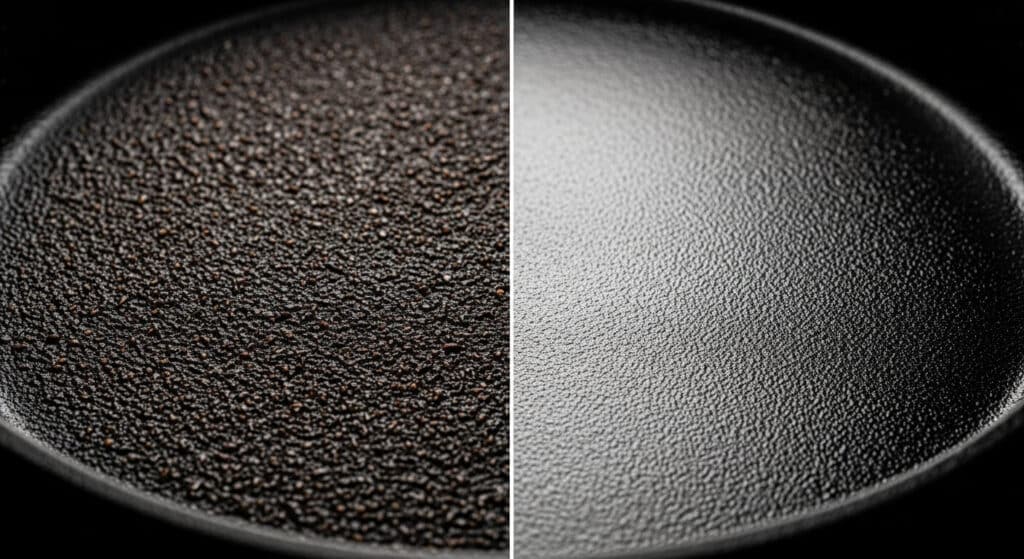
There’s also this: cast iron improves with every use. A skillet that’s five years old cooks better than a new one. Nothing else in the kitchen does that. Proper cleaning and care keeps it building that non-stick surface for decades without any chemical coating that eventually flakes off.
Essential Tools for Cast Iron Skillet Casseroles
A 12-inch skillet is the right pan. Not a 10-inch — too small to brown chicken without crowding. Not a 14-inch — unwieldy, uneven heat at the outer edges, and heavier than it needs to be for a four-person meal.
Picking the Right Skillet
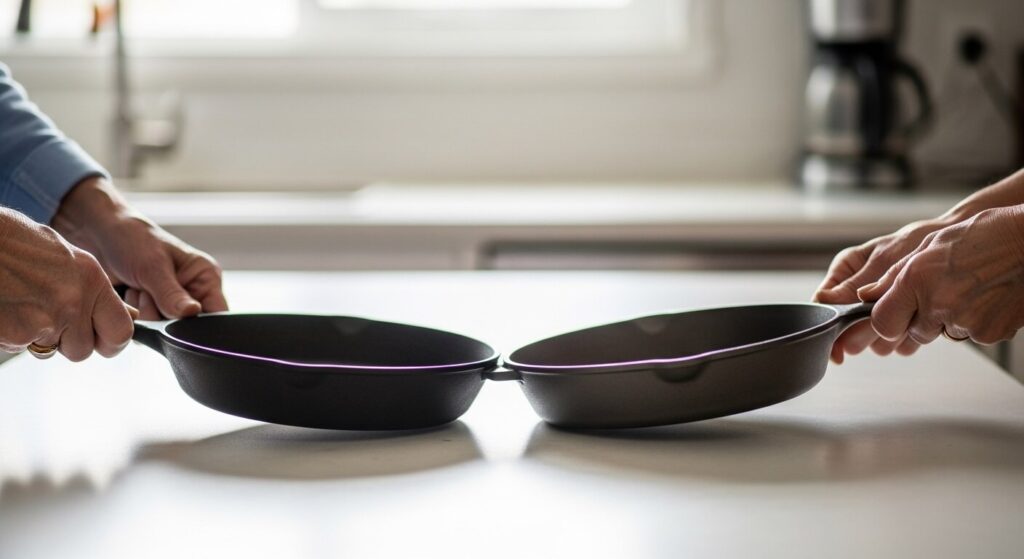
The helper handle matters more than people think. A loaded 12-inch cast iron skillet is heavy enough that moving it from oven to table with one handle is genuinely risky. The second handle point makes it manageable. Look for it specifically when buying.
Seasoning and Ongoing Maintenance
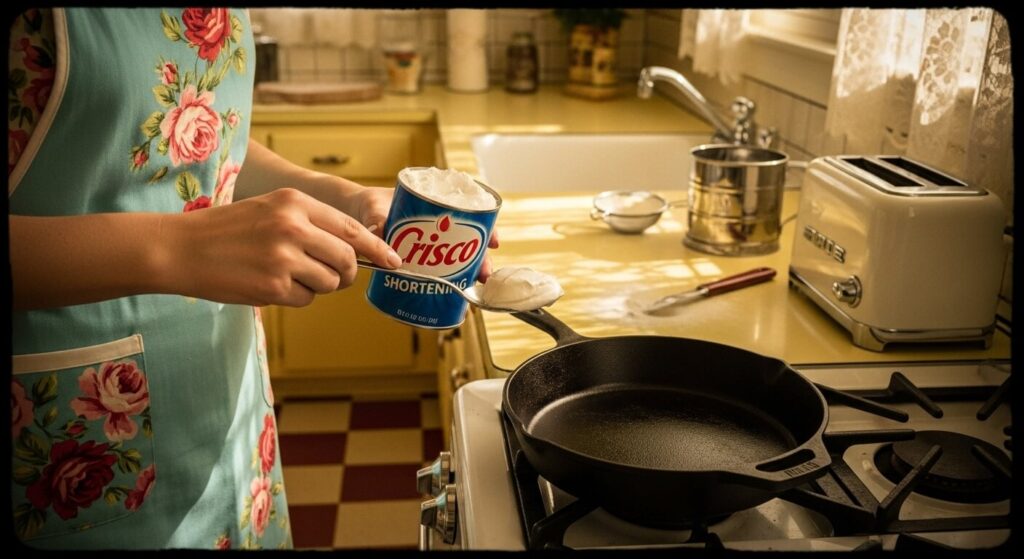
Seasoning your cast iron is not a project you do once and forget. It’s ongoing. Every use adds to the surface. Every proper cleaning preserves it. Grapeseed oil is good for seasoning because its smoke point is high enough that it polymerizes onto the iron properly. Apply a thin layer after washing — thin, not thick, thick oil coats go rancid and get tacky — and heat the pan briefly to absorb it.
What Else You Need
| Tool | Why | Material |
|---|---|---|
| Spatula | Stirring without scratching seasoning | Silicone. Not metal. |
| Spoon | Mixing, serving | Wood |
| Handle cover | That handle gets scorching hot | Heat-resistant silicone |
| Oven mitts | Moving the whole thing | Heavy-duty fabric |
Metal utensils scratch the seasoning. Silicone spatulas are $8 and solve this entirely. It’s not a complicated decision.
Classic Skillet Chicken Casserole: A Family Favorite
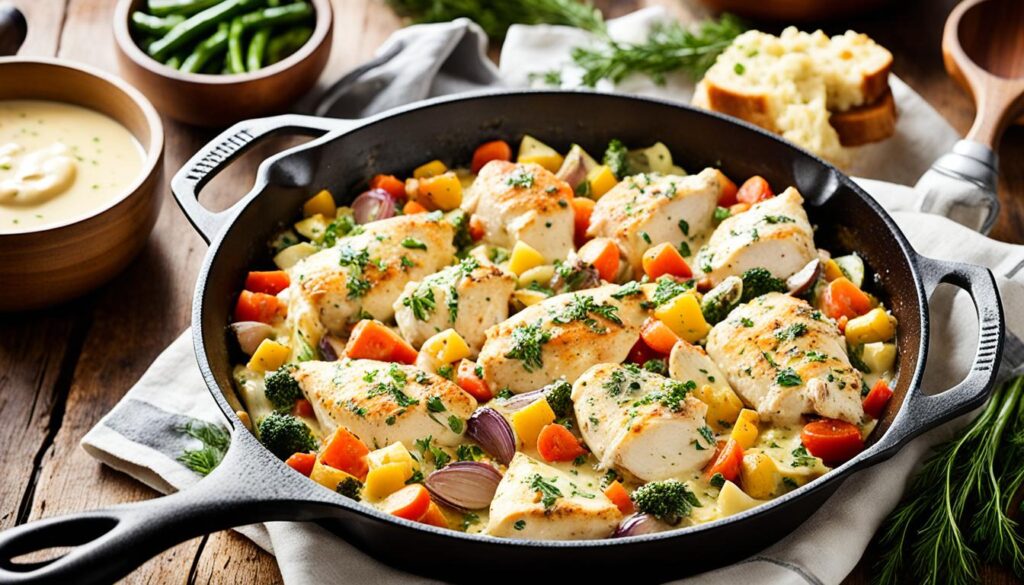
The classic cast iron chicken casserole comes down to cream of mushroom soup, green beans, tender chicken, and a layer of crispy fried onions — and it works precisely because it doesn’t reach for anything beyond that.
Ingredients
- 1-1/2 lbs boneless, skinless chicken breasts, cut into bite-sized pieces
- 1 lb frozen green beans
- 1 can (10-1/2 oz) cream of mushroom soup
- 1 can (10-1/2 oz) cream of chicken soup
- 1/2 cup whole milk
- 1 tsp Worcestershire sauce
- 1 cup fried onions
- Salt and pepper — use more than you think you need
Method
Start the oven heating to 400°F. Don’t go light on seasoning the chicken — salt and pepper, generously. Combine both soups in your 12-inch skillet along with the milk and Worcestershire, stirring until it’s all smooth. Drop in the chicken and the frozen green beans, then mix it all together so every piece gets coated.
Twenty-five minutes uncovered in the oven, until you see bubbling at the edges and the chicken’s done. Take it out, cover the top evenly with fried onions, then back in for another 5 minutes until those onions turn golden.
Once it’s out, let it sit for 5 minutes before serving. The sauce isn’t done thickening yet at that point — give it the time, even if you’re ready to eat right away.
Worcestershire sauce is a tiny addition that punches well above its weight here — it brings a savory depth the cream soups can’t manage on their own. Leaving it out is a mistake.
Want something completely different for another night? This healthy beef and broccoli stir-fry is worth keeping in rotation alongside these casseroles.
Nutritional Information (Per Serving)
| Nutrient | Amount per Serving |
|---|---|
| Calories | 385 |
| Carbohydrates | 28g |
| Protein | 36g |
| Fat | 14g |
| Fiber | 4g |
| Sodium | 980mg |
Creamy Chicken and Broccoli Skillet Bake
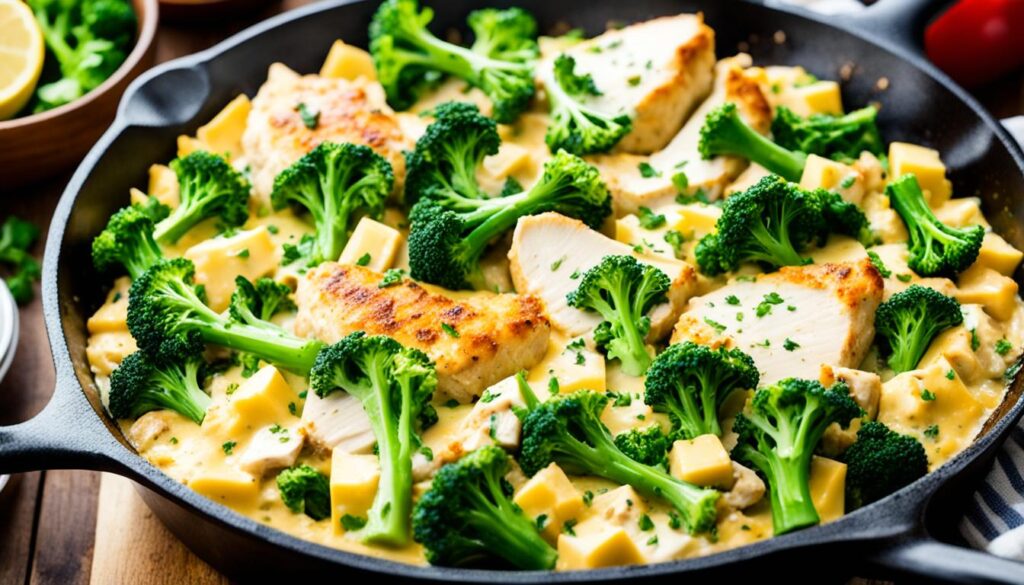
Thirty minutes, one cast iron skillet, and a combination of bacon, mozzarella, cream sauce, pasta, and broccoli that somehow tastes like it took a lot more effort than it did.
Ingredients Breakdown
Start with bacon — 4 slices, cooked crispy in your 12-inch skillet. Pull it out, crumble it up, set it aside, and leave that fat right where it is in the pan. It’s about to make your broccoli taste a lot better than it has any right to.
Here’s the full list:
- 3 cups shredded cooked chicken (rotisserie works great)
- 2 cups broccoli florets, cut small
- 4 slices bacon
- 3 tbsp unsalted butter
- 2 cloves garlic, minced
- 3 tbsp all-purpose flour
- 2-1/2 cups whole milk
- 1-1/2 cups shredded mozzarella
- 2-1/2 cups short pasta, cooked al dente and drained
- Salt, pepper, and — this is important — a pinch of nutmeg
Step-by-Step Instructions
The broccoli goes straight into that bacon fat. The broccoli goes into that bacon fat next, 3-4 minutes, until it’s tender but still has a little char on it. Pull it out and set it alongside the bacon.
In the same pan, melt the butter, then add the garlic and let it go 30 seconds. Whisk in the flour and give it a full minute on the heat to cook out that raw flour edge. Pour the milk in slowly, whisking the entire time — go too fast here and the sauce clumps up and never really recovers. Let it sit over medium heat for 4-5 minutes until it thickens, then season with salt, pepper, and that pinch of nutmeg.
Take it off the heat. Stir in the mozzarella until it’s melted through, then fold in the pasta, chicken, broccoli, and half your bacon. The rest of the bacon goes on top. Serve it right out of the skillet, or pop it in a 375°F oven for 10 minutes first if you want a browned top.
On the nutmeg: skipping it is a common mistake. A single pinch in the cream sauce adds a warmth you’d struggle to name but would absolutely notice the absence of.
Want something on the lighter side for contrast another night? The Chinese chicken and cabbage stir-fry earns its spot in the rotation too.
Nutritional Information (Per Serving)
| Nutrient | Amount per Serving |
|---|---|
| Calories | 520 |
| Carbohydrates | 42g |
| Protein | 38g |
| Fat | 20g |
| Fiber | 3g |
| Sodium | 620mg |
Southwestern Chicken and Rice Skillet Casserole
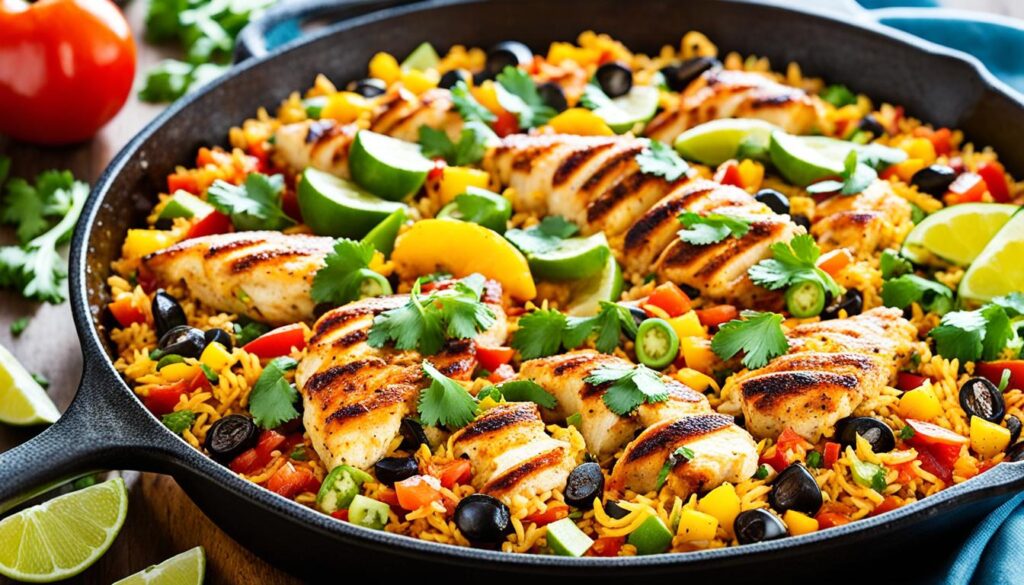
One pan. Spiced chicken, uncooked rice, black beans, corn, tomatoes, and chicken broth — all cooked together so the rice absorbs everything. This is the recipe for nights when you want dinner without much thinking.
What You Need
- 1 lb boneless, skinless chicken breasts, cut into 1-inch cubes
- 1 cup long-grain white rice, uncooked
- 1 can (15 oz) black beans, rinsed and drained
- 1 cup frozen corn kernels
- 1 can (14-1/2 oz) diced tomatoes with green chiles
- 2 cups chicken broth
- 2 tbsp olive oil
- 1 tbsp chili powder, 1 tsp cumin, 1/2 tsp garlic powder
- Salt and pepper
Optional toppings: cheddar, sour cream, avocado, lime. All of these make it better.
How It Goes Together
In a 12-inch skillet, get your olive oil hot over medium-high heat. Season the chicken and brown it 4-5 minutes — you’re after color here, not a full cook-through yet. Stir in the rice, uncooked, and toast it for roughly a minute before doing anything else. This step’s worth the extra minute: toasted rice picks up a nuttier taste than rice added straight to liquid, and the difference shows up in the finished dish.
Stir in the beans, corn, tomatoes, and broth. Bring everything up to a boil, cover it tightly, then drop the heat down to low. Twenty minutes of cooking should leave the rice tender with most of the liquid absorbed. Once that time’s up, let it sit covered and off the heat for 5 minutes before you take the lid off. Top with whatever you’re using.
If the rice is still firm at 20 minutes, add 1/4 cup hot water and go another 5 minutes. If there’s extra liquid with cooked rice, remove the lid and let it cook off — cast iron retains enough heat that this happens quickly.
A shrimp and broccoli stir-fry makes a solid contrast meal on another night.
Nutritional Information (Per Serving)
| Nutrient | Amount per Serving |
|---|---|
| Calories | 445 |
| Carbohydrates | 58g |
| Protein | 34g |
| Fat | 8g |
| Fiber | 8g |
| Sodium | 710mg |
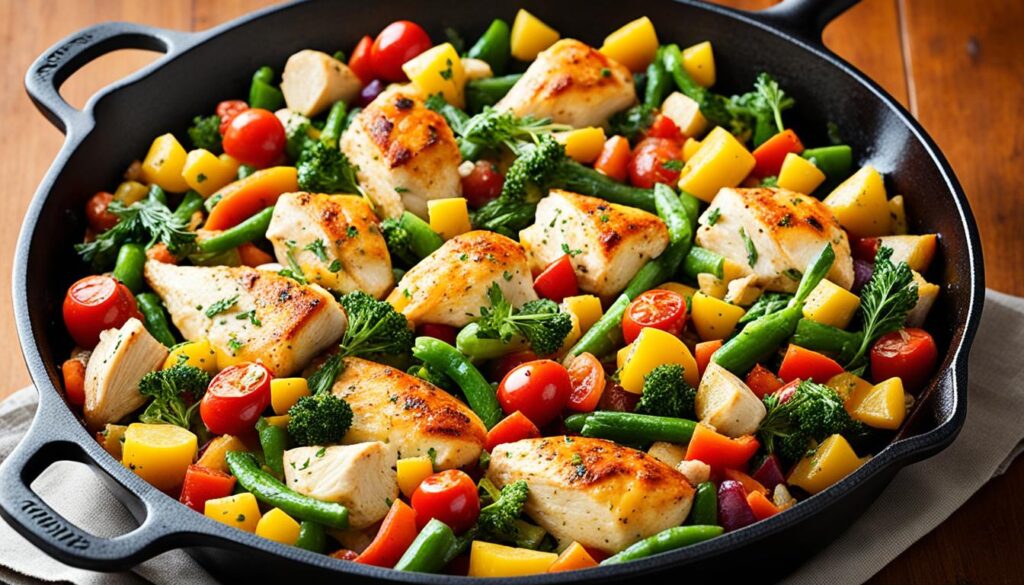
Low Carb Chicken and Vegetable Skillet Casserole
No pasta. No rice. Just chicken, four vegetables, Parmesan, and the right spices — done in 25 minutes and filling enough that nobody asks where the carbs went.
Selecting Low Carb Vegetables
These four work because of the textural range they cover:
- 1-1/2 cups broccoli florets — holds shape, substantial
- 1-1/2 cups cauliflower florets — milder, fills out the volume
- 1 medium zucchini, sliced into half-moons — softens and adds moisture
- 1 red or orange bell pepper, diced — sweetness and color, not green pepper
Broccoli and cauliflower run about 5-6g net carbs per cup. For reference, a cup of cooked penne is around 35g. The difference is significant if carbs matter to you.
Protein-Packed Cooking Tips
One pound of chicken breast. Slice it into thin strips — not chunks, strips. Thin strips cook in 3-4 minutes over medium-high heat and stay juicy. Thick pieces, on the other hand, take longer and end up drying out under cast iron’s intense heat. Season everything before it ever touches the pan — salt, pepper, garlic powder, smoked paprika, all on the chicken itself, not floating around in the oil.

Cook in 2 tablespoons of olive oil in a hot 12-inch skillet. Keep the pieces from touching each other in the pan — work in two batches if you have to. Crowded chicken produces steam, not heat. Steamed chicken in a casserole is a waste of perfectly good ingredients.
Flavor Enhancers Without the Carbs
- 1 tsp dried oregano
- 1 tsp garlic powder
- 1/2 tsp smoked paprika
- 1/3 cup freshly grated Parmesan
Sauté vegetables in the same skillet, 5-6 minutes over medium-high. Return the chicken. Toss. Scatter Parmesan on top. Serve immediately or under the broiler 2-3 minutes for a browned finish.
This shrimp and dumpling stir-fry is another fast skillet dinner worth having in the lineup.
Nutritional Information (Per Serving)
| Nutrient | Amount per Serving |
|---|---|
| Calories | 295 |
| Carbohydrates | 10g |
| Protein | 34g |
| Fat | 13g |
| Fiber | 4g |
| Sodium | 390mg |
Gluten-Free Chicken and Quinoa Skillet Bake
Naturally gluten-free. Quinoa cooked in chicken broth directly in the skillet so it actually tastes like something. Gruyère on top. This one gets made repeatedly once people try it.
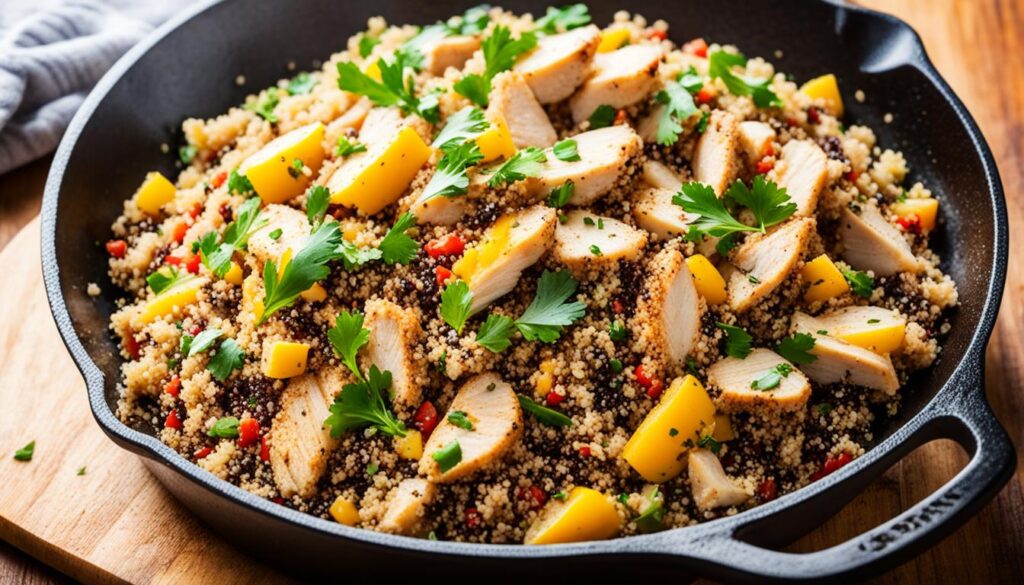
Rinse the quinoa first. Under cold water until it runs clear. Unrinsed quinoa has a bitter outer coating — saponin — that makes the whole dish taste slightly off. Takes 90 seconds to rinse. Do it.
Ingredients and Method
- 1 lb boneless, skinless chicken breasts
- 1 cup quinoa, rinsed
- 2 cups low-sodium chicken broth
- 3/4 cup whole milk
- 2 cups fresh broccoli florets, cut small
- 1/3 cup shredded Gruyère
- 1 tsp poultry seasoning, 1/2 tsp garlic powder, salt, pepper, 1 tbsp olive oil
Season the chicken, then get it cooking in olive oil in your 12-inch skillet over medium-high — figure 5-6 minutes per side, until the internal temp hits 165°F. Pull it out onto a cutting board to rest while you keep going.
Same skillet, add the quinoa and broth. Bring it to a boil, cover, and simmer for 15 minutes. The grains are ready once you spot that tiny white ring on each one — that’s the germ separating away, and it’s a dependable sign the quinoa’s fully cooked. Stir in the milk and broccoli next, then cook uncovered for 4-5 more minutes. Broccoli should be just tender. Pull it before it goes soft — soft broccoli in this dish is a texture problem.
Slice the rested chicken and lay it over the quinoa. Scatter Gruyère on top. Cover 2 minutes to melt, or broil for a browned surface.
Why Gruyère Specifically
Cheddar dominates. Mozzarella disappears. Gruyère does exactly what it should — it melts cleanly, adds a nutty depth, and complements quinoa in a way the other common cheeses don’t. Swiss is the closest substitute. But Gruyère is correct for this dish. It’s worth buying.
Leftovers in the fridge for 3 days. Add a splash of broth when reheating — the quinoa absorbs moisture overnight and comes back dry without it.
Nutritional Information (Per Serving)
| Nutrient | Amount per Serving |
|---|---|
| Calories | 420 |
| Carbohydrates | 32g |
| Protein | 42g |
| Fat | 13g |
| Fiber | 4g |
| Sodium | 480mg |
One-Pan Italian Chicken Pasta Casserole
Uncooked pasta, chicken broth, cream, sun-dried tomatoes, seared chicken — all cooked together in the skillet, one pan, no separate pot. The pasta absorbs the liquid and the flavor simultaneously. It sounds gimmicky. It isn’t.
Choosing the Right Pasta
Short pasta only. Penne, rigatoni, fusilli — any of these work. Long pasta clumps and doesn’t cook evenly in a skillet with this much liquid. If linguine is all you have, break it in half. Otherwise just get penne.
Check on the pasta every few minutes while it’s cooking and give it a stir. Cast iron doesn’t let go of heat easily, and the bottom layer sticks fast if it’s left alone too long.
Incorporating Italian Herbs and Spices
Whatever flavor ends up in the finished dish comes from the liquid the pasta soaks up, which means seasoning needs to happen up front — not as an afterthought once everything’s already cooked.
- 3 cloves garlic, minced — sautéed in the same pan after browning the chicken
- 1 tsp dried oregano, 1/2 tsp dried basil, 1/4 tsp red pepper flakes
- 1/3 cup sun-dried tomatoes, roughly chopped
Sun-dried tomatoes bring concentrated flavor without adding extra liquid to the mix, which matters a lot here since the liquid-to-pasta ratio is pretty exact. Fresh tomatoes would just release moisture and throw that balance off.
Cheese Selection for Ultimate Flavor
Parmesan goes in off the heat. Not with the pan still at full temperature — it’ll seize and clump instead of melting smoothly. Freshly grated, not pre-shredded from a bag. Anti-caking agents in pre-shredded cheese interfere with melting in a way that’s noticeable in the finished dish.
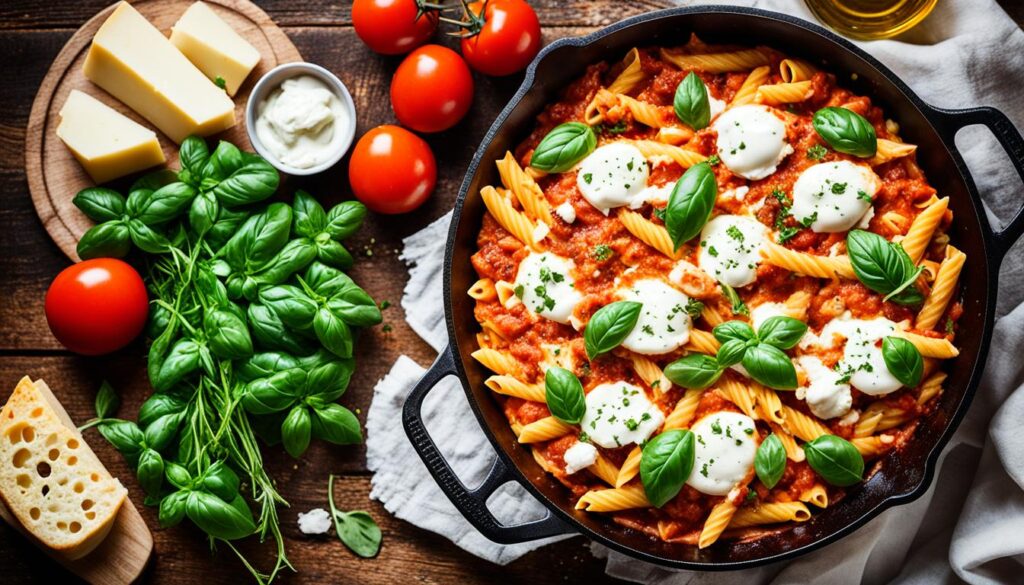
Full ingredient list:
- 1 lb boneless chicken breasts, thinly sliced
- 2-1/2 cups penne, uncooked
- 3-1/2 cups low-sodium chicken broth
- 2/3 cup heavy cream
- 3/4 cup Parmesan, freshly grated
- 1/3 cup sun-dried tomatoes, chopped
- 2 tbsp olive oil, herbs as above
Brown the chicken in olive oil for 3-4 minutes, then add the garlic for 30 seconds. Pour in the broth and cream, followed by the pasta, herbs, and sun-dried tomatoes. Bring it to a boil, drop it to a simmer, and cover for 12-14 minutes, stirring every few minutes throughout. Once the pasta’s tender and the sauce has thickened up, pull it off the heat and fold in the Parmesan. Let it rest 3-4 minutes before serving.
Nutritional Information (Per Serving)
| Nutrient | Amount per Serving |
|---|---|
| Calories | 580 |
| Carbohydrates | 52g |
| Protein | 40g |
| Fat | 22g |
| Fiber | 3g |
| Sodium | 720mg |
Skillet Chicken Noodle Casserole: Soup Reimagined
Everything that makes chicken noodle soup good — the aromatics, the egg noodles, the savory broth — concentrated into a thick, cheesy baked casserole with a cheddar crust on top that soup can’t replicate. This is the soup version’s better-looking sibling.
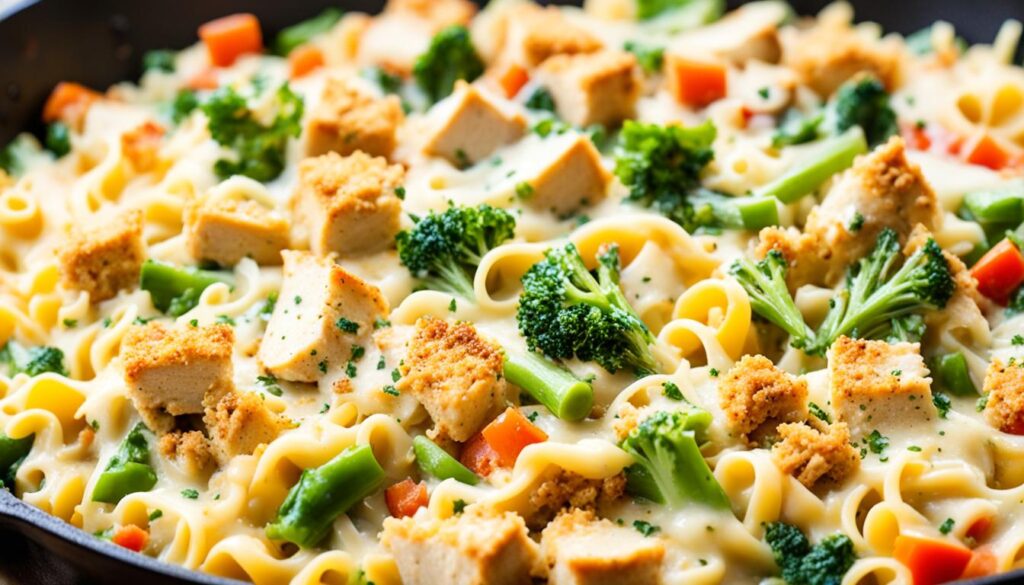
Ingredients
- 3 cups shredded cooked chicken — rotisserie is exactly right here, use it
- 10 oz egg noodles, cooked to just barely al dente and drained
- 1 cup carrots, diced small
- 1 cup celery, diced
- 1/2 cup yellow onion, diced
- 3 tbsp unsalted butter
- 3 tbsp all-purpose flour
- 2 cups low-sodium chicken stock
- 3/4 cup whole milk
- 1-1/2 cups sharp cheddar, shredded
- Salt, pepper, dried thyme
Cook the egg noodles to just barely al dente — they’ll continue cooking in the oven and mushy noodles make the whole casserole feel heavy and dense.
Building It
Preheat the oven to 350°F.
Melt butter in the 12-inch skillet over medium. Add onion, carrots, and celery. Cook 5-6 minutes until softened. Season with salt, pepper, and a pinch of dried thyme. Scatter flour over the vegetables and stir to coat everything. Cook 1 full minute — this eliminates the raw flour taste, and skipping it means a starchy-tasting sauce no matter how long you simmer it afterward.
Pour in chicken stock slowly while whisking, then the milk. Bring to a simmer, thicken 3-4 minutes. Off the heat. Stir in the shredded chicken and egg noodles. Fold gently — you want the noodles intact, not broken down.
Scatter cheddar evenly over the top. Bake 25-30 minutes until melted, bubbling, and golden in patches. Rest 5 minutes.
Leftovers reheat well. Add a splash of stock when reheating — the noodles absorb moisture in the fridge, same as the quinoa mentioned earlier in this article.
Nutritional Information (Per Serving)
| Nutrient | Amount per Serving |
|---|---|
| Calories | 490 |
| Carbohydrates | 38g |
| Protein | 36g |
| Fat | 20g |
| Fiber | 3g |
| Sodium | 640mg |
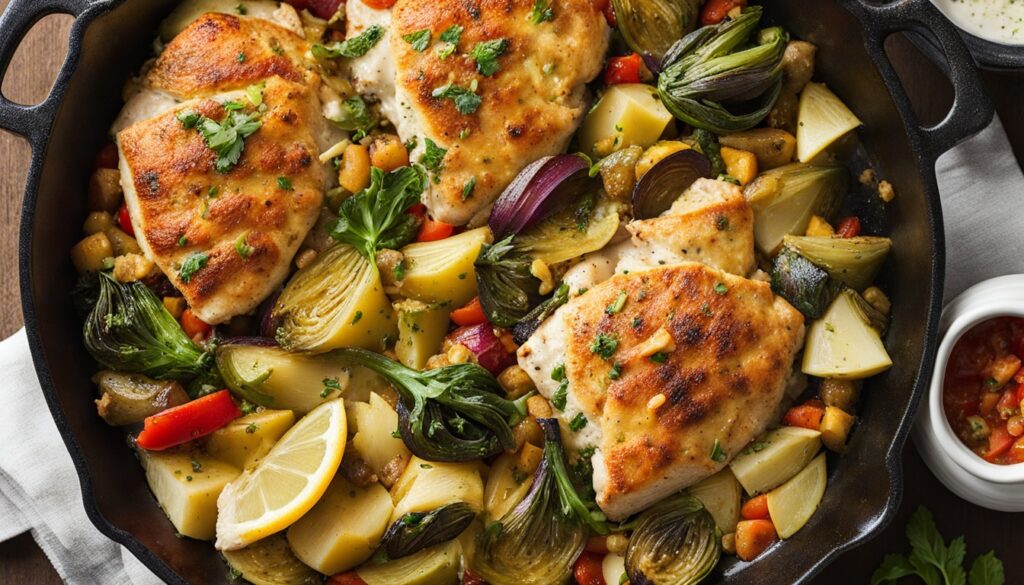
Mediterranean Chicken and Artichoke Skillet Casserole
Marinated artichoke hearts, Kalamata olives, cherry tomatoes, zucchini, feta, and seared chicken — bright and ready in 30 minutes. This is the recipe for when you want something that tastes like genuine effort without the genuine effort.
Key Mediterranean Ingredients
Ingredient quality matters more in this recipe than in any other one in this article. The marinated artichoke hearts are fundamentally different from plain canned artichokes — they’ve been sitting in seasoned oil with herbs and acid, and that flavoring is already built in. Using plain canned artichokes produces a noticeably blander dish.
Same logic for the olives. Standard canned black olives taste like almost nothing. Kalamata olives are meaty, briny, and have actual character. They’re not interchangeable.
- 1 lb boneless, skinless chicken breasts, cut into strips
- 1 jar (12 oz) marinated artichoke hearts, drained
- 1/2 cup Kalamata olives, pitted and halved
- 1 cup cherry tomatoes, halved
- 1 medium zucchini, diced
- 1 red bell pepper, diced
- 3 oz feta cheese, crumbled
- 3 cloves garlic, minced
- 2 tbsp olive oil
- 1 tsp dried oregano, 1/2 tsp dried thyme
- Juice of half a lemon
- Fresh basil to finish
Cooking Techniques for Optimal Flavor
Season the chicken with oregano, thyme, salt, and pepper. Sear in hot olive oil 3-4 minutes per side. Leave it alone while it sears. Moving it constantly prevents the crust from forming. The crust is the point of searing. Set the chicken aside.
Same pan: cook zucchini and bell pepper 4-5 minutes until softened with some color. Add garlic, 30 seconds. Add the artichoke hearts, olives, and cherry tomatoes. Cook 3-4 minutes — the tomatoes blister and release liquid that becomes a light pan sauce naturally. Return the chicken. Squeeze lemon over everything. Feta on top.
Serve immediately, or 8-10 minutes in a 375°F oven if you want more blistering on the tomatoes.
Fresh basil at the end. Torn, not chopped — it bruises less and actually tastes better torn.
Serving Suggestions and Pairings
Over cauliflower rice if you’re low-carb. Over regular rice if you’re not. Crusty bread is excellent for picking up the pan sauce. On its own it’s substantial enough. A Greek salad alongside makes it feel more complete, but it’s not required.
Nutritional Information (Per Serving)
| Nutrient | Amount per Serving |
|---|---|
| Calories | 340 |
| Carbohydrates | 12g |
| Protein | 33g |
| Fat | 18g |
| Fiber | 4g |
| Sodium | 720mg |
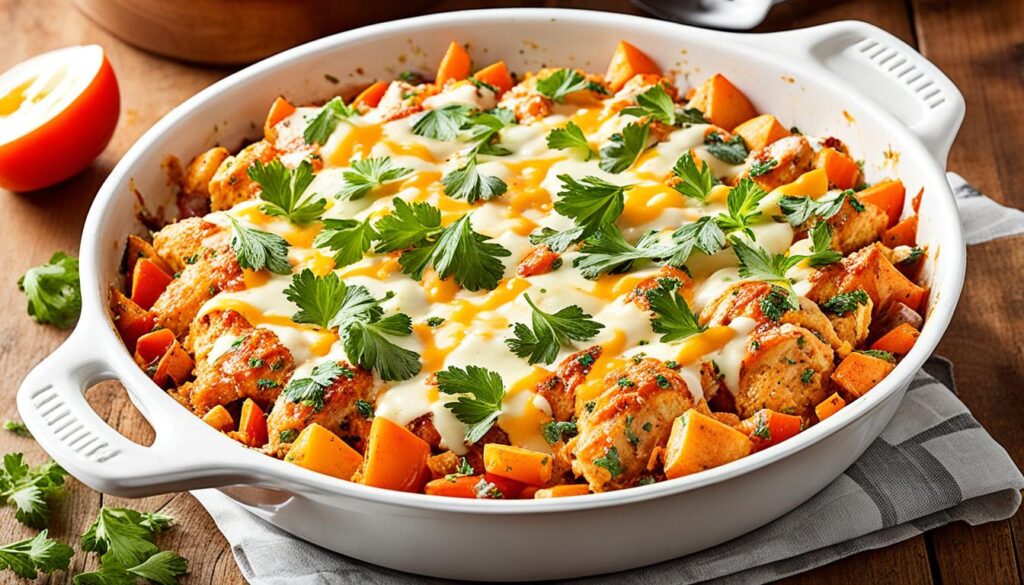
Buffalo Chicken Skillet Casserole: A Spicy Twist
Cream cheese, buffalo sauce, ranch, sharp cheddar, blue cheese crumbles, and a buttered panko crust — baked in cast iron until it’s bubbling and golden. This is the one people request specifically, by name, at gatherings.
Ingredients
- 1-1/2 lbs chicken breast, cut into 1-inch cubes
- 1/2 cup buffalo sauce — Frank’s RedHot is the standard; go to 2/3 cup for more heat
- 8 oz cream cheese, softened and cut into chunks so it melts faster
- 1/3 cup ranch dressing
- 1 cup shredded sharp cheddar, divided
- 1/4 cup blue cheese crumbles — crumbles, not shredded
- 1/2 cup panko breadcrumbs
- 2 tbsp unsalted butter, melted
- Salt, pepper, garlic powder
The Instructions
Preheat oven to 375°F. Season the chicken and cook in the 12-inch skillet over medium-high until just cooked through — 6-8 minutes. Just cooked through. It continues in the oven. Overcooked chicken going into the oven comes out dry.
Drop to medium heat. Add cream cheese chunks and buffalo sauce. Stir until the cream cheese melts completely into the sauce, 2-3 minutes of active stirring. Stir in ranch and half the cheddar. Scatter the remaining cheddar and all the blue cheese crumbles across the top. Mix panko with melted butter until evenly coated. Spread over the cheese layer.
Bake 20-25 minutes until the topping is golden and the edges are visibly bubbling.
Blue cheese crumbles, not shredded blue cheese. This distinction matters: crumbles hold their shape during baking and create distinct pockets of intense flavor throughout the casserole. Shredded blue melts into the background and loses its character entirely.
The cream cheese tempers the buffalo sauce significantly. This casserole always tastes milder than the volume of hot sauce would suggest — so if you want heat, use the full 2/3 cup. To pull it back for people who don’t handle spice well, go to 1/3 cup and increase the ranch to 1/2 cup.
Serve with celery sticks. Not as decoration — as part of the dish. The cold, crisp crunch against the hot, rich, spicy casserole works for exactly the same reason it works with actual wings.
Nutritional Information (Per Serving)
| Nutrient | Amount per Serving |
|---|---|
| Calories | 530 |
| Carbohydrates | 12g |
| Protein | 44g |
| Fat | 33g |
| Fiber | 0.5g |
| Sodium | 1,180mg |
Tips for Perfecting Your Cast Iron Skillet Casseroles
Four things. Every recipe. Always.
Preheat the skillet. Five to ten minutes over medium heat before anything goes in. This is the single most impactful technique in cast iron cooking. A cold skillet causes sticking, fails to brown protein properly, and recovers temperature too slowly when cold ingredients are added. Hot skillet. Every single time without exception.
Two batches when browning chicken. If pieces are touching, they’re generating steam and cooking each other instead of making contact with the pan surface. Two batches adds maybe five minutes to the total time. Those five minutes change the flavor of the finished dish meaningfully.
A thermometer. 165°F. Not color, not firmness — temperature. Cast iron at 400°F can carry-cook chicken significantly between the moment you pull it from the oven and the moment it hits the table. Pull it at temperature, not at appearance.
Five minutes rest. Sauce thickens. Flavors settle. Nobody burns the roof of their mouth. Worth every second of it.
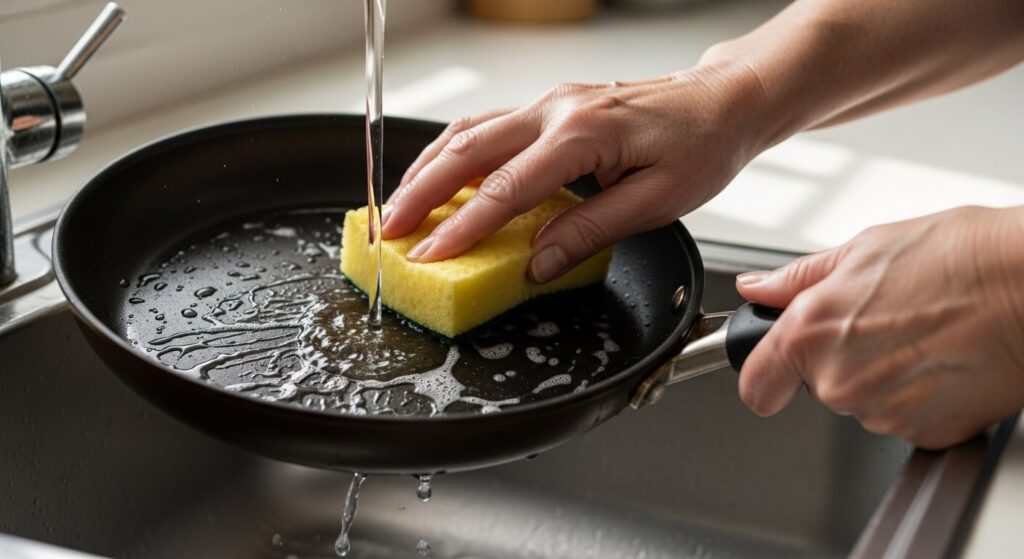
And after cooking: while the skillet is still warm, wipe it out with a paper towel, rinse briefly with hot water, dry completely on a low burner, apply a thin film of oil. That sequence, done consistently, builds a skillet that genuinely gets better every year. No other pan in the kitchen can make that claim.